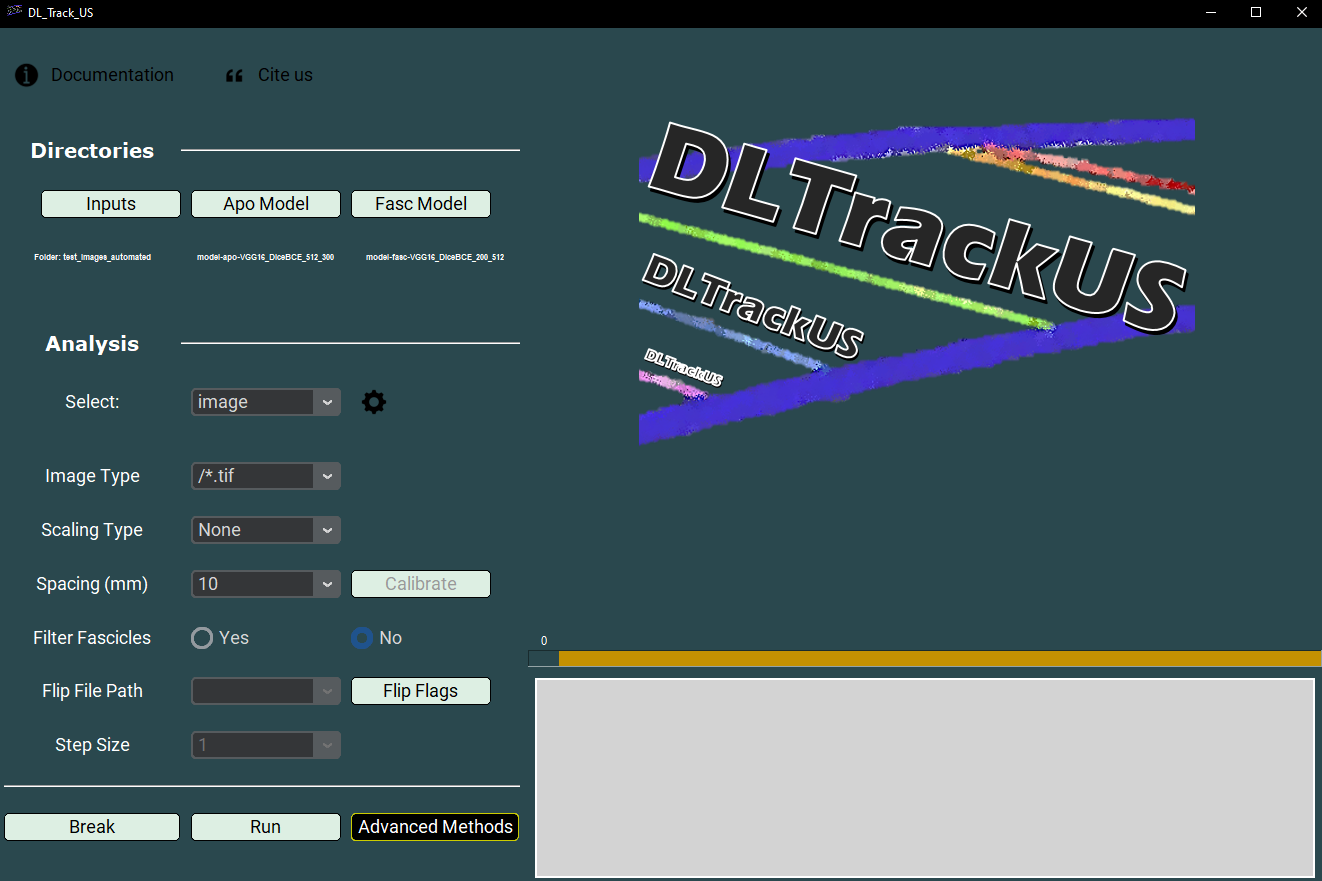
🧪 Testing Automated Image Analysis
This page explains how to test the automated image analysis in DL_Track_US.
Test Preparation
Before starting:
- Images are evaluated without user input.
- Only single images (not videos) are required.
- Test data is located at:
DL_Track_US_example/tests/test_images_automatic
Make sure the following are correct:
- Use the correct images:
DL_Track_US_example/tests/test_images_automated - Use the provided pre-trained models:
DL_Track_US_example/DLTrack_models - Keep all parameter settings in
settings.py(accessible via the Settings Wheel) as they are. - In v0.2.1, select NO for the Filter Fascicles option.
- Use the correct flip_flag.txt file:
DL_Track_US_example/tests/test_images_automated/flip_flags.txt - Then click the Run button to start the analysis.
After Running the Test
After running the analysis, two new files will be created:
- ResultImages.pdf
- Results.xlsx
Both will appear in:
DL_Track_US_example/tests/test_images_automated
Validating the Results
- Open the Results.xlsx file.
- Compare the analysis results to the expected outputs shown below.
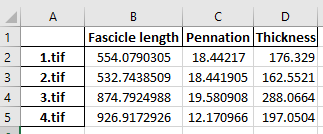
✅ If the results are similar, DL_Track_US works properly for automated image analysis!