🔍 Inspecting Masks
Data quality is of utmost importance when labeling the images.
In version 0.2.1 of DL_Track_US, we included an option to inspect labeled images and corresponding masks.
1. Accessing the Mask Inspection Tool
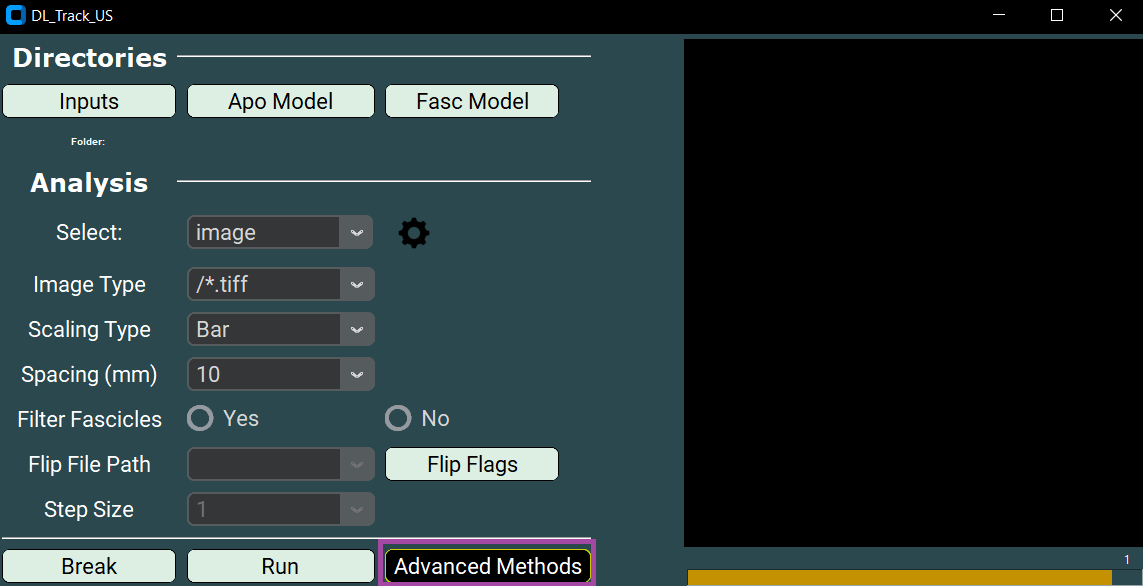
- Open the UI.
- In the main window, click on Advanced Methods.
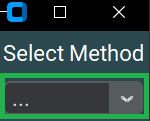
- In the Select Method dropdown, choose "Inspect Masks".
- The Mask Inspection Window will open.
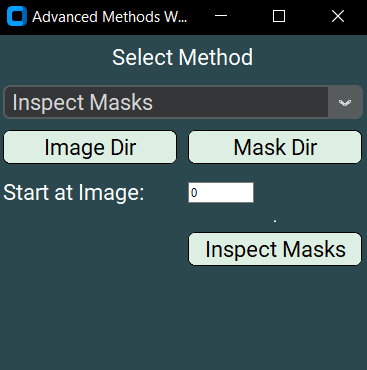
2. Selecting Relevant Directories
You need to specify three directories:
- 📁 output_images — contains the original labeled images
- 📁 fascicle_masks — contains fascicle masks
- 📁 aponeurosis_masks — contains aponeurosis masks
These folders should have been created during the Image Labeling process.
Fascicle and aponeurosis masks must be inspected separately.
Specify:
- Click Image Dir to select the
output_imagesfolder. - Click Mask Dir to select the respective masks folder (either fascicle or aponeurosis masks).
- Use the Start Index to choose the starting image number.
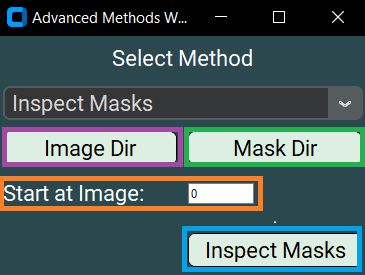
3. Starting the Inspection
- Click on Inspect Masks to start inspecting.
One of two things will happen:
Case 1: Everything Matches
- Number of images and masks is equal.
- Naming conventions are correct.
- You will see a messagebox confirming everything is OK.
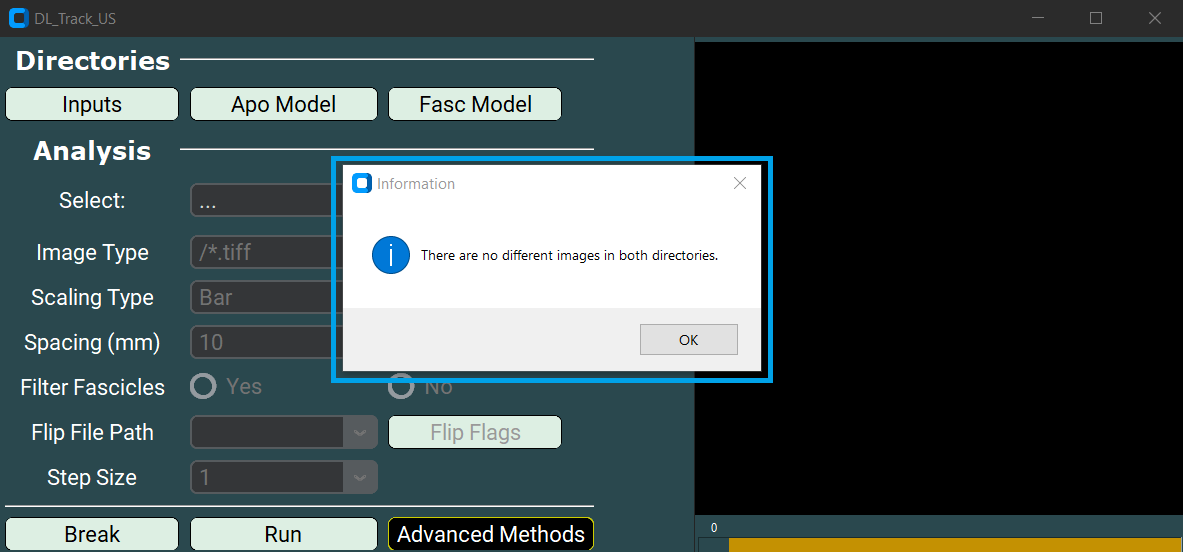
Click OK to continue to the Mask Inspection GUI.
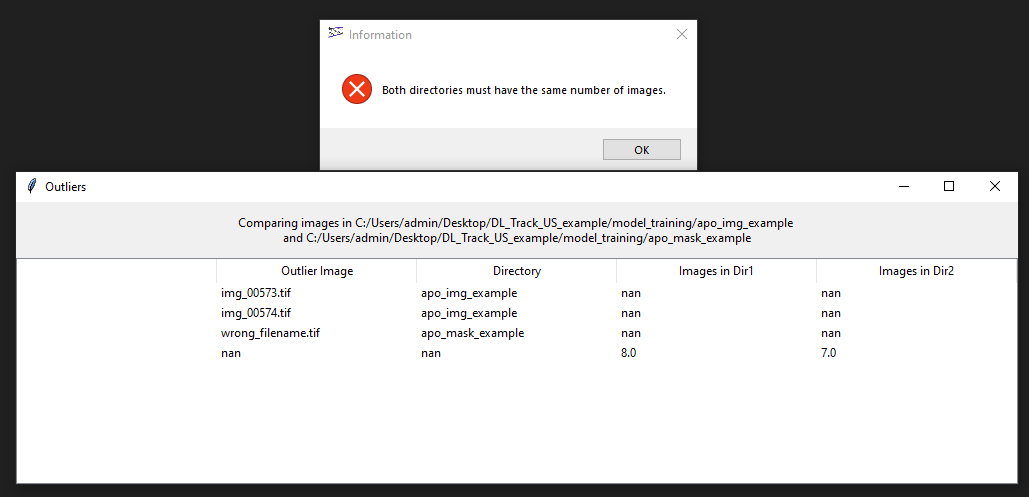
Case 2: Mismatch Detected
- Number of images and masks is not equal and/or
- Naming is incorrect.
In this case:
- A table appears showing:
- Incorrect image names
- Which directory they occur in
- If the number of files differs
💡 Tip:
Adjust the files according to the table, then restart the inspection.
4. Using the Mask Inspection UI
Once inspection starts:

In this UI:
- The original images are shown.
- The masks are overlaid in semi-transparent green.
- Follow the instructions displayed inside the GUI carefully.
🛑 Delete Warning:
Clicking the Delete button will permanently delete the selected image-mask pair!
We recommend making backups of the folders before starting inspection,
especially if you might want to correct masks later.