🖼 Manual Image Analysis
This page covers manual image analysis in DL_Track_US.
In this mode, images are evaluated manually by drawing muscle thickness, fascicle length, and pennation angles directly onto the images.
Important:
Manual analysis is applicable only for single images (not videos).
All images must be contained in a single folder, e.g., DL_Track_US_example/images_manual.
If you have not downloaded the example folder yet, please do so:
DL_Track_US - Examples & Models.
📦 Unzip the folder and save it somewhere easily accessible.
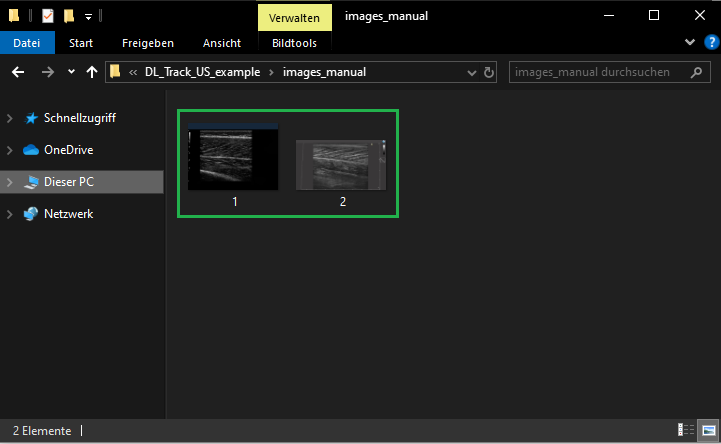
1. Creating Image Directory
- Place all images to be analyzed into a single folder.
- The
DL_Track_US_example/images_manualfolder contains 2 images.
- Unlike automated analysis, you do not need a
flip_flag.txtfile or neural networks. - In manual analysis, you are the "neural network."
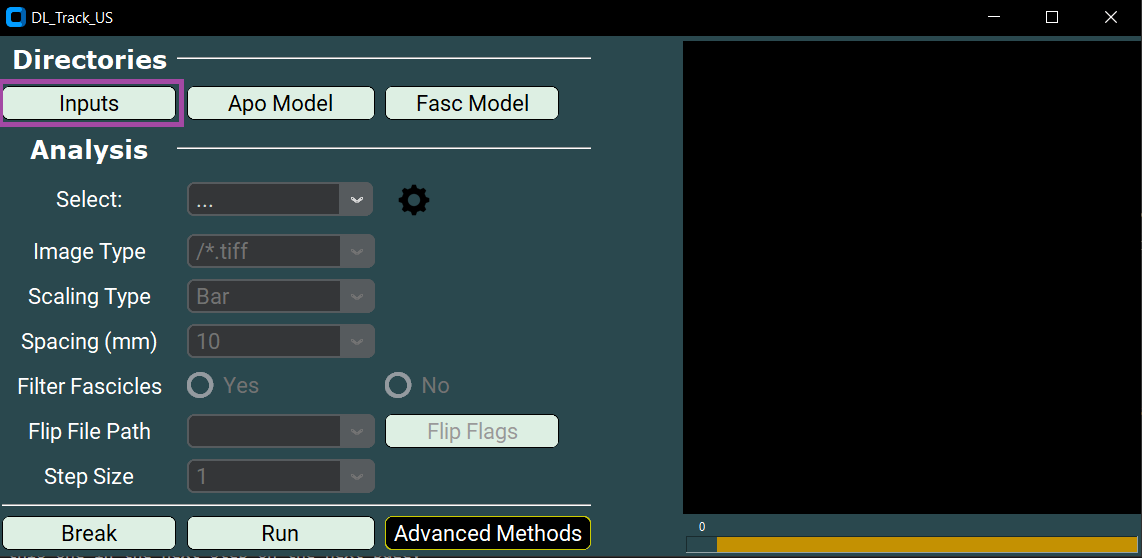
2. Specifying Input Directories in the GUI
- Click the Inputs button in the GUI to open a selection window.
- Choose the
DL_Track_US_example/images_manualfolder. - Click Select folder to confirm.
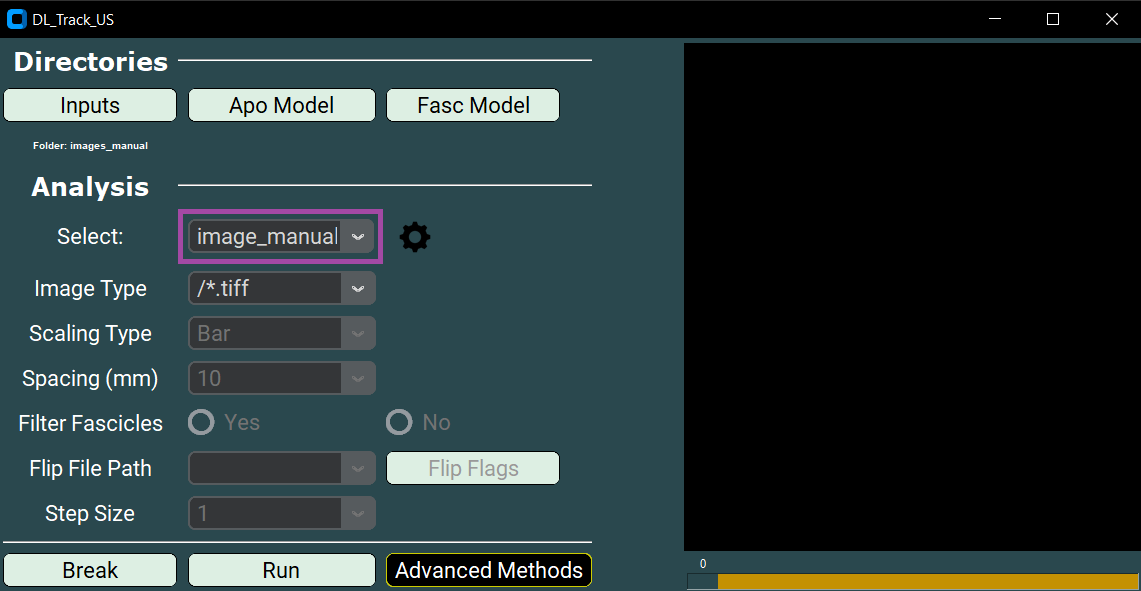
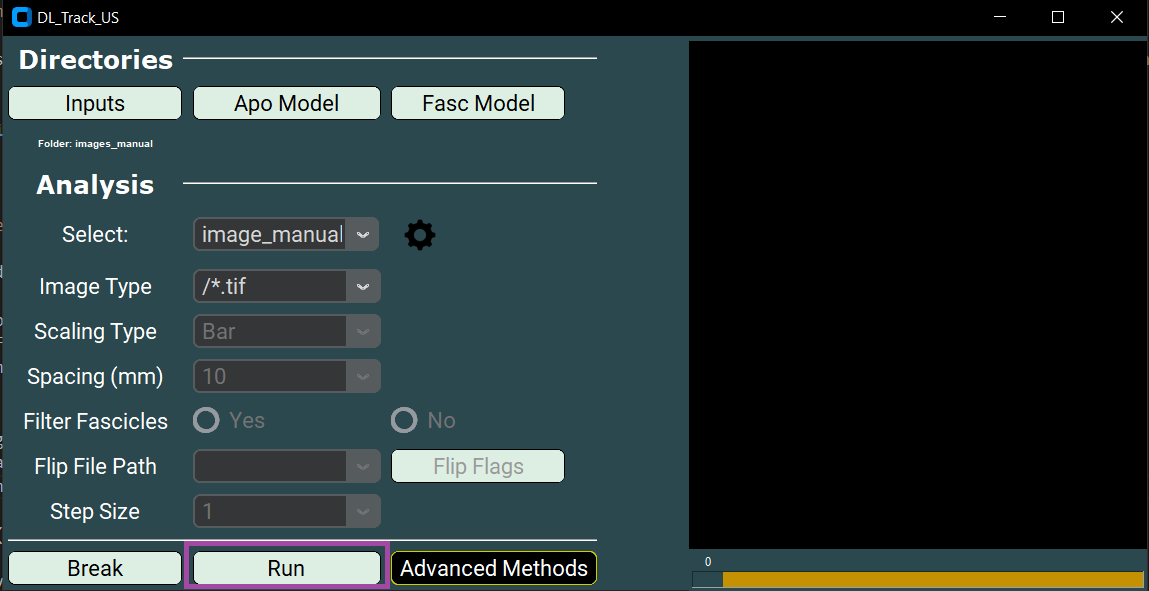
3. Specifying Analysis Parameters
- Select image_manual from the dropdown menu.
Then specify the Image Type:
- The file extension must match your images (e.g.,
.tif). - Either select it from the dropdown or type it manually.
- For this tutorial, select /*.tif.
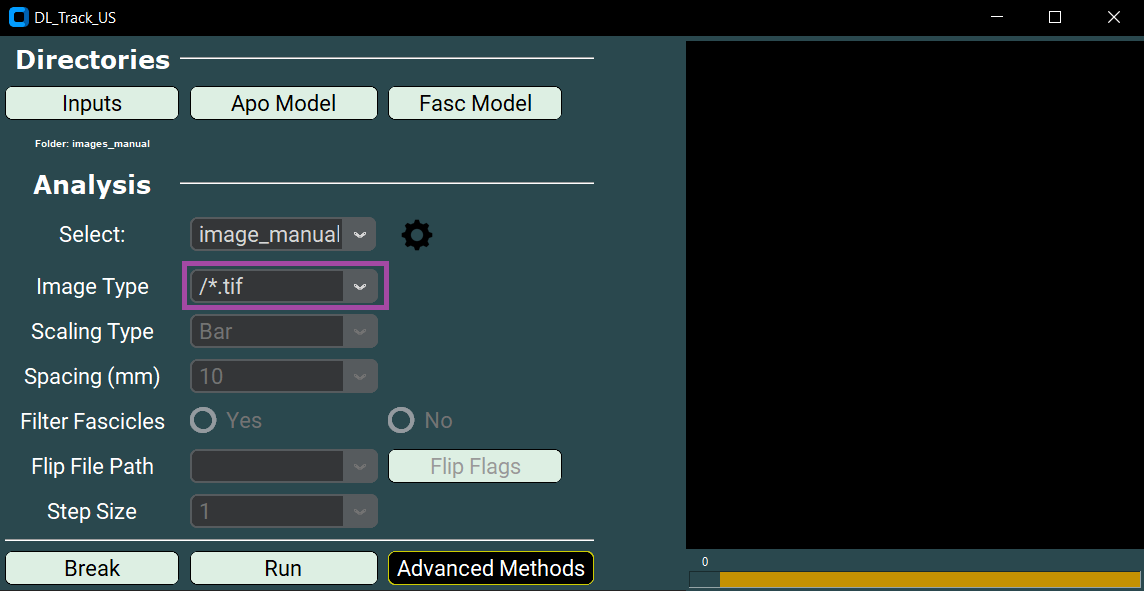
- After setting the image type, click Run to start the manual analysis.
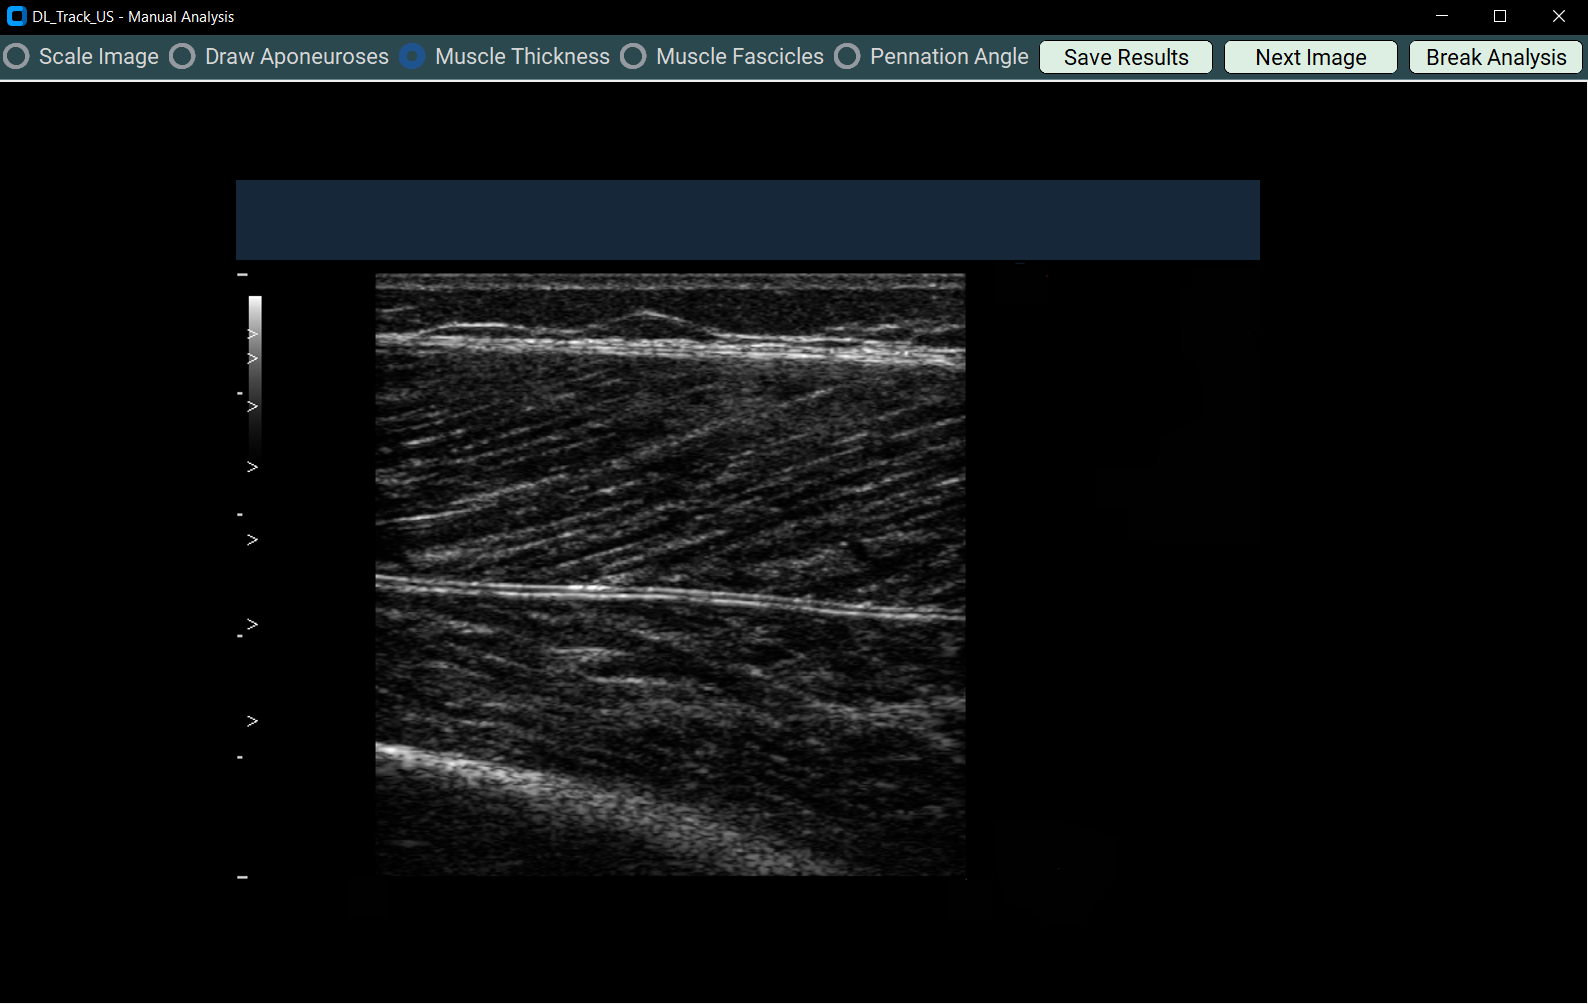
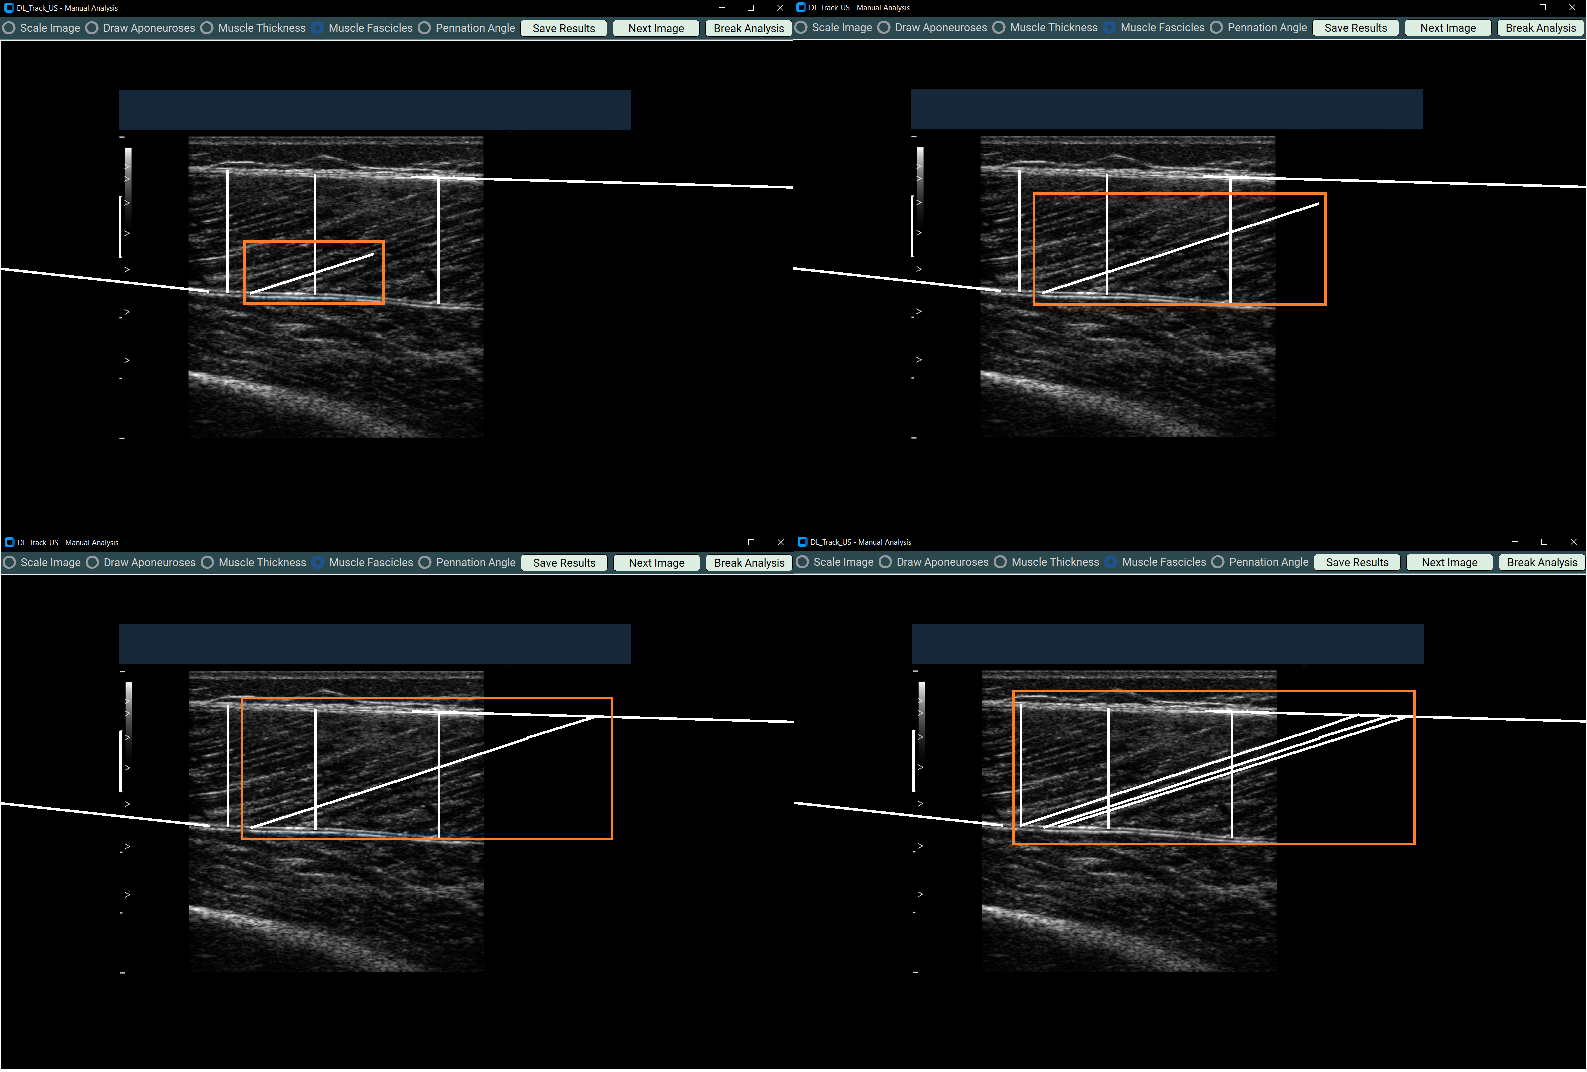
4. Manual Analysis of Image
After clicking Run, the Manual Analysis window opens:
Important rules:
- The start and end points of each line are critical — not the line itself.
- Start drawing by pressing the left mouse button; end by releasing it.
- Avoid any unwanted clicks!
If extra clicks happen, restart the current analysis step.
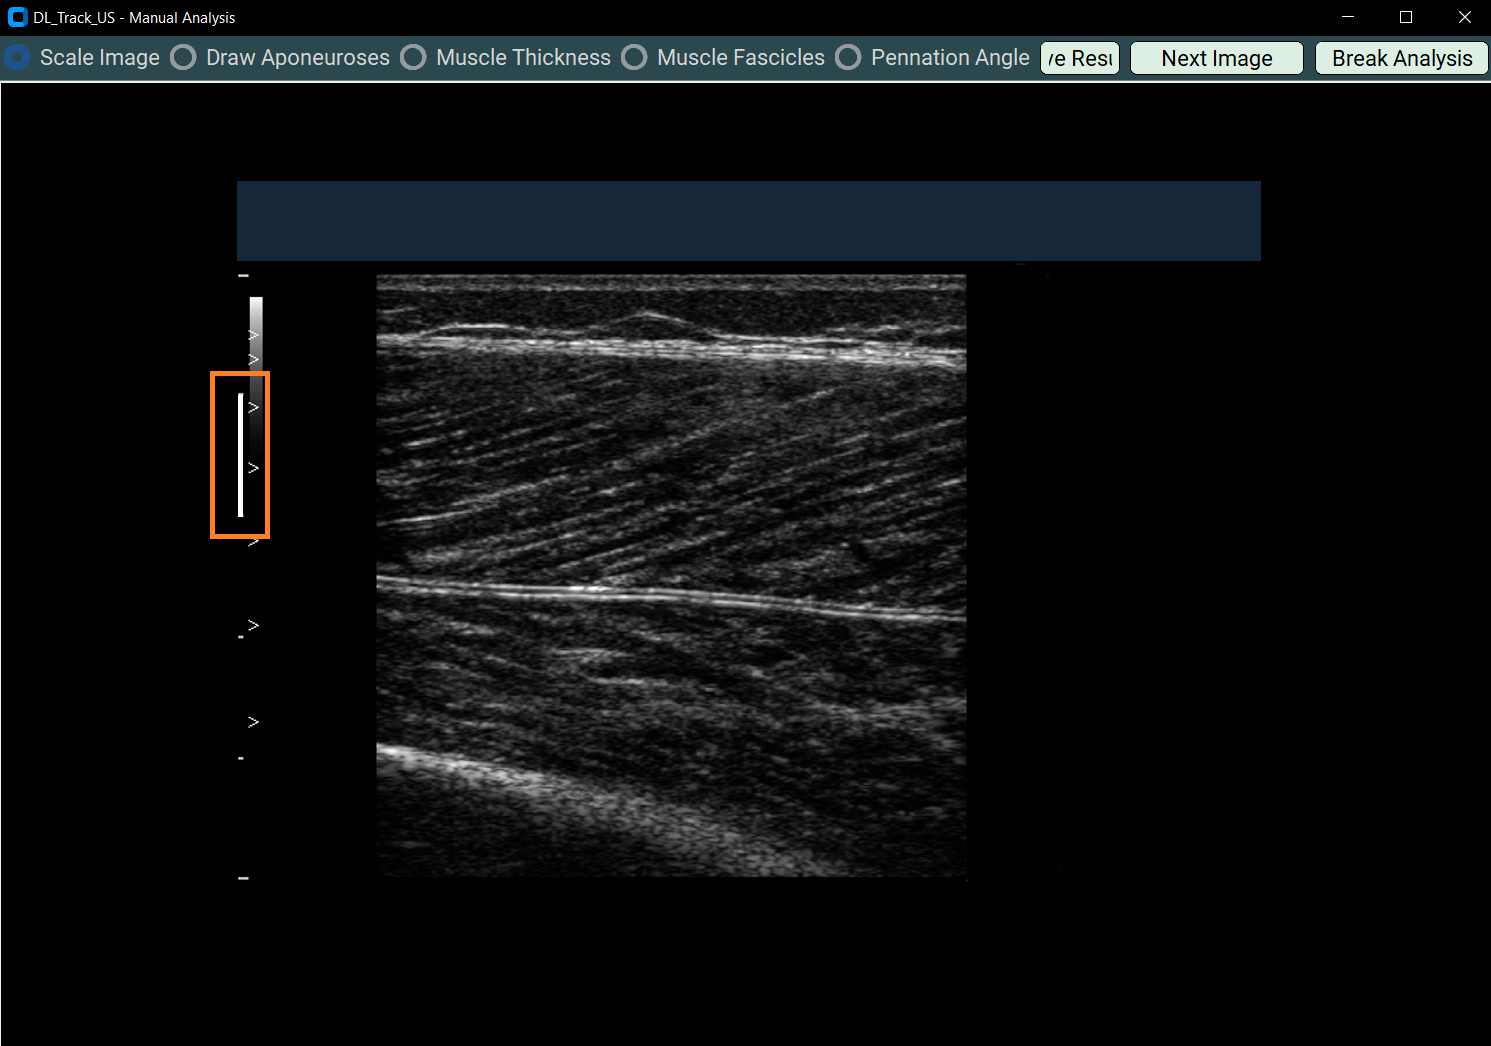
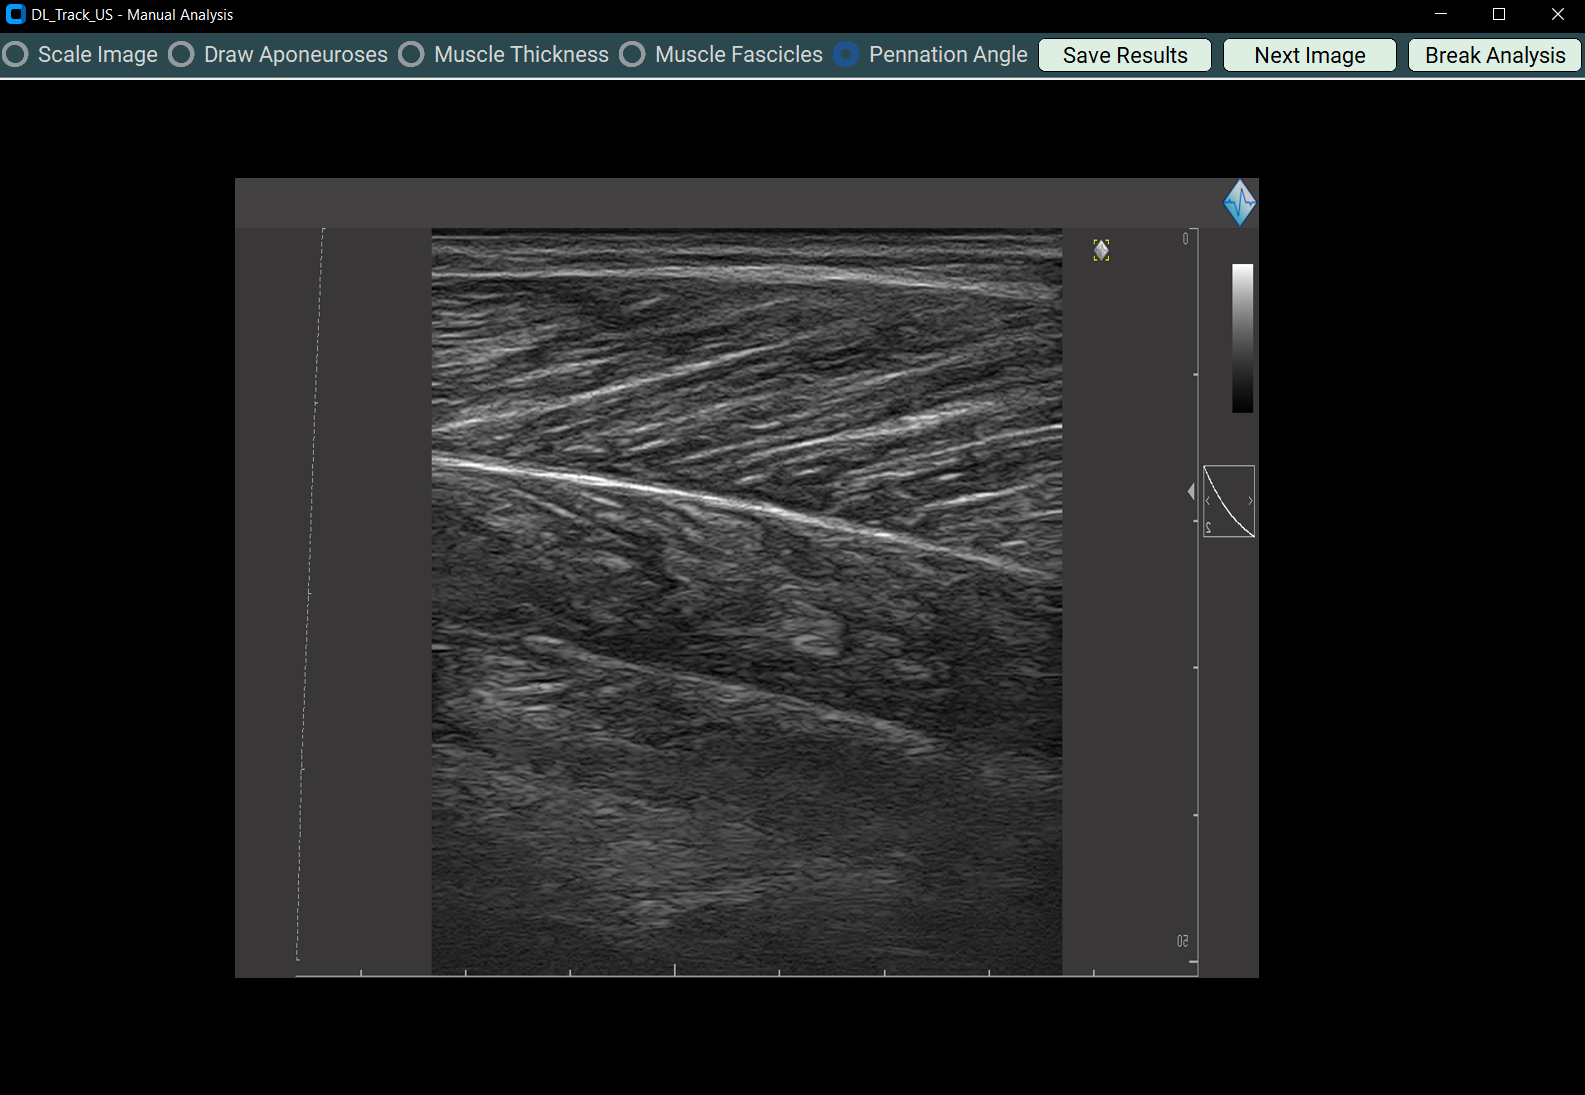
4.1 Manual Scaling
- Select Scale Image in the Manual Analysis window.
- Draw a 1-centimetre straight line based on scaling bars in the image.
- A messagebox will guide you.

Example of the drawn line:
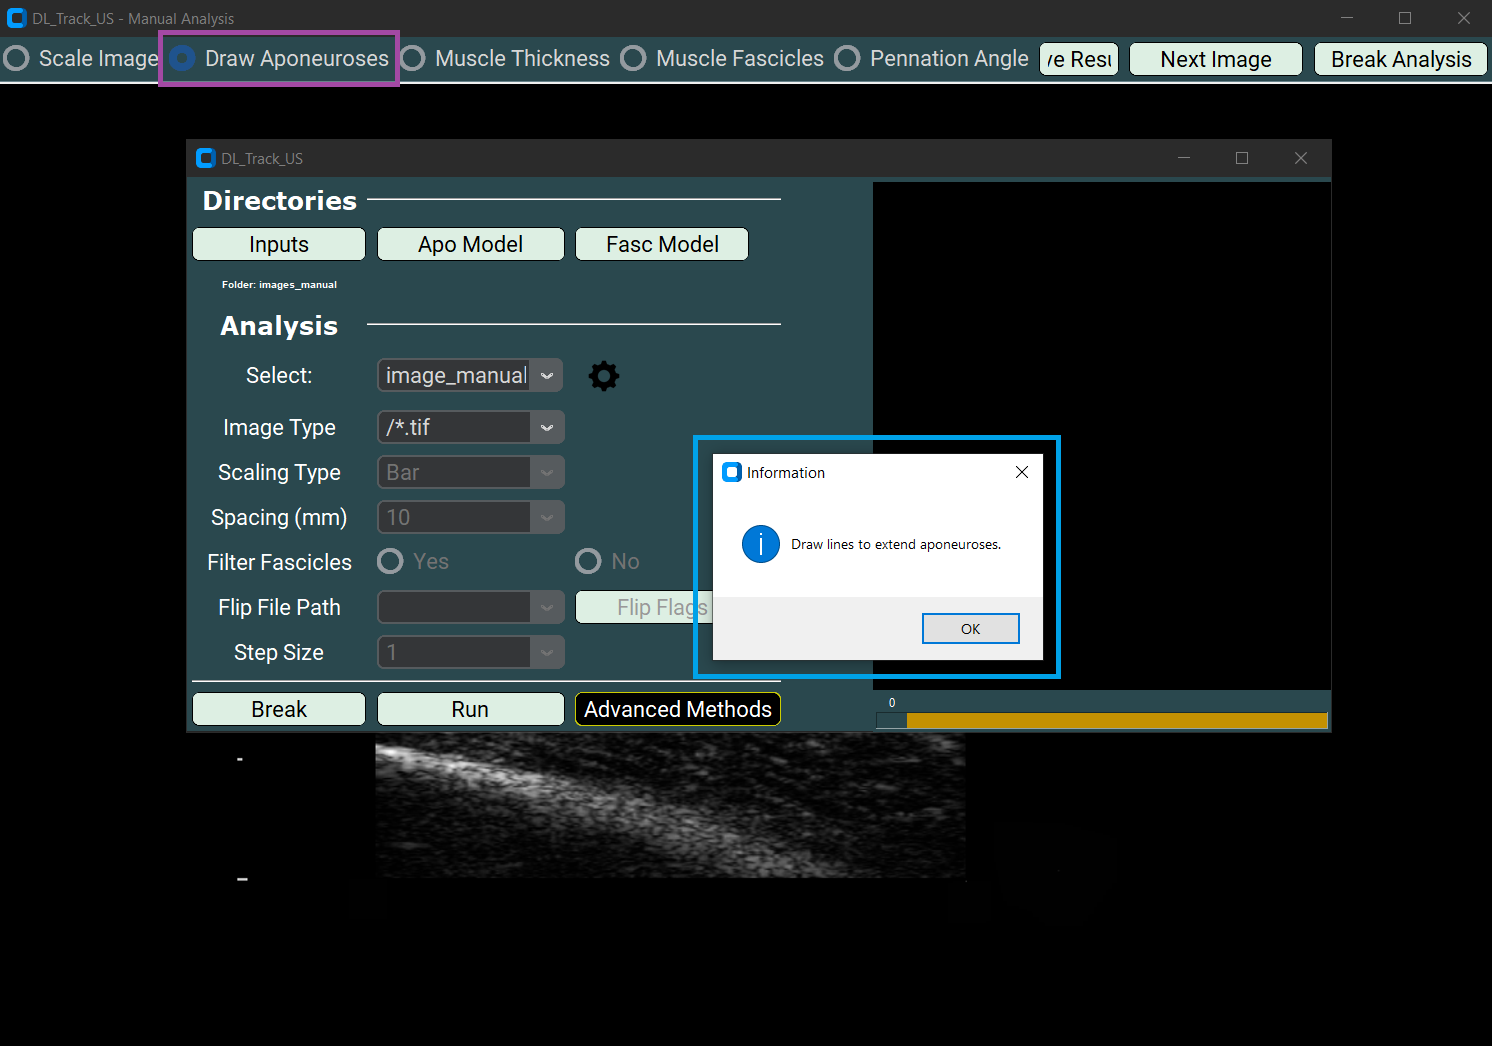
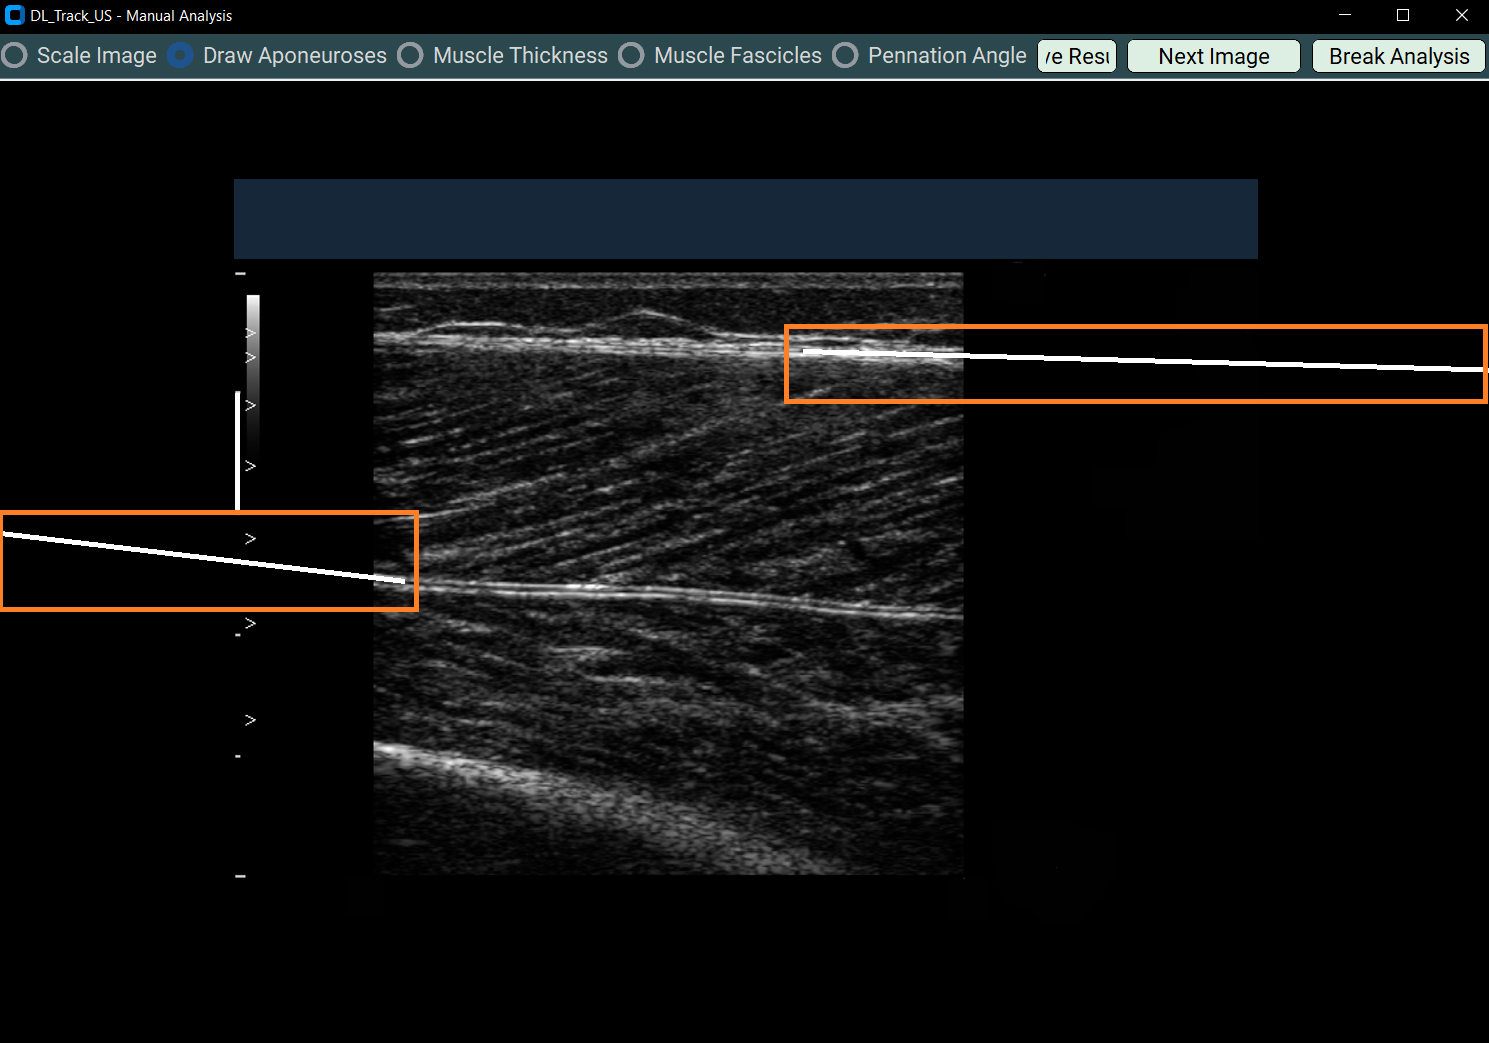
4.2 Drawing Aponeuroses
- Select Draw Aponeurosis to manually extend aponeuroses.
- A messagebox will instruct you.
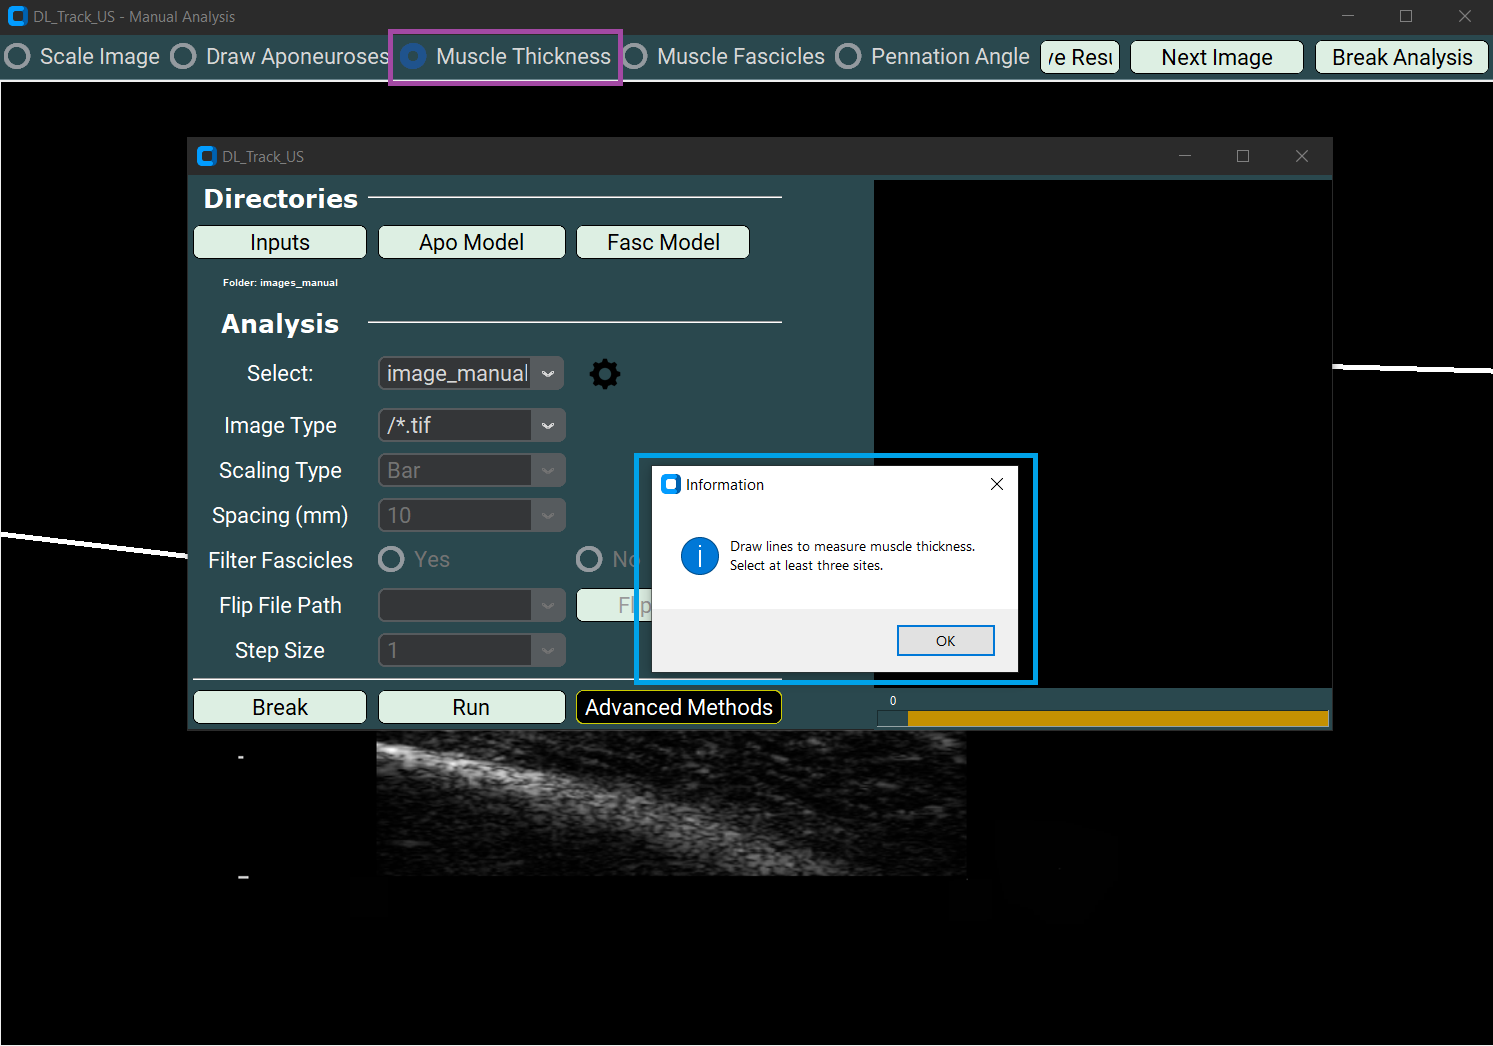
4.3 Measuring Muscle Thickness
- Select Muscle Thickness.
- Draw three straight lines from superficial to deep aponeurosis across the muscle image.
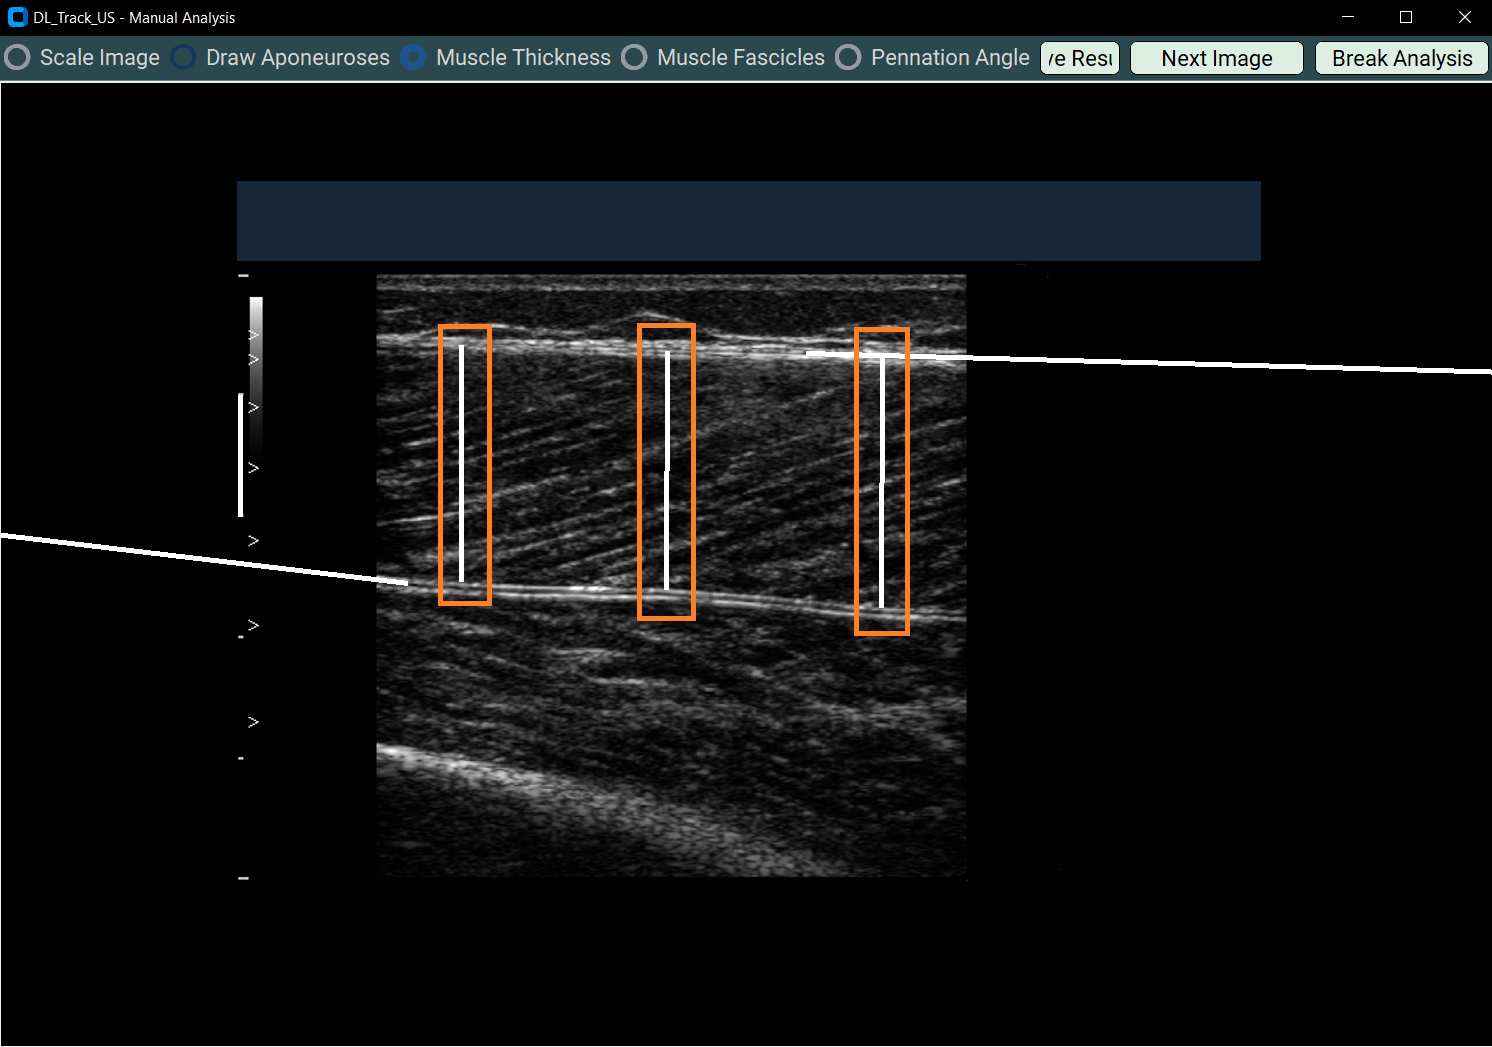
4.4 Drawing Fascicles
- Select Muscle Fascicles.
- Draw at least three fascicles in different regions.
- Each fascicle must have three segments:
- Each segment must start where the previous segment ended.
- Avoid extra mouse clicks.
4.5 Measuring Pennation Angles
- Select Pennation Angle.
- Draw at least three pennation angles:
- Each must have two segments:
- Along the fascicle
- Along the deep aponeurosis


5. Saving / Breaking / Next Image
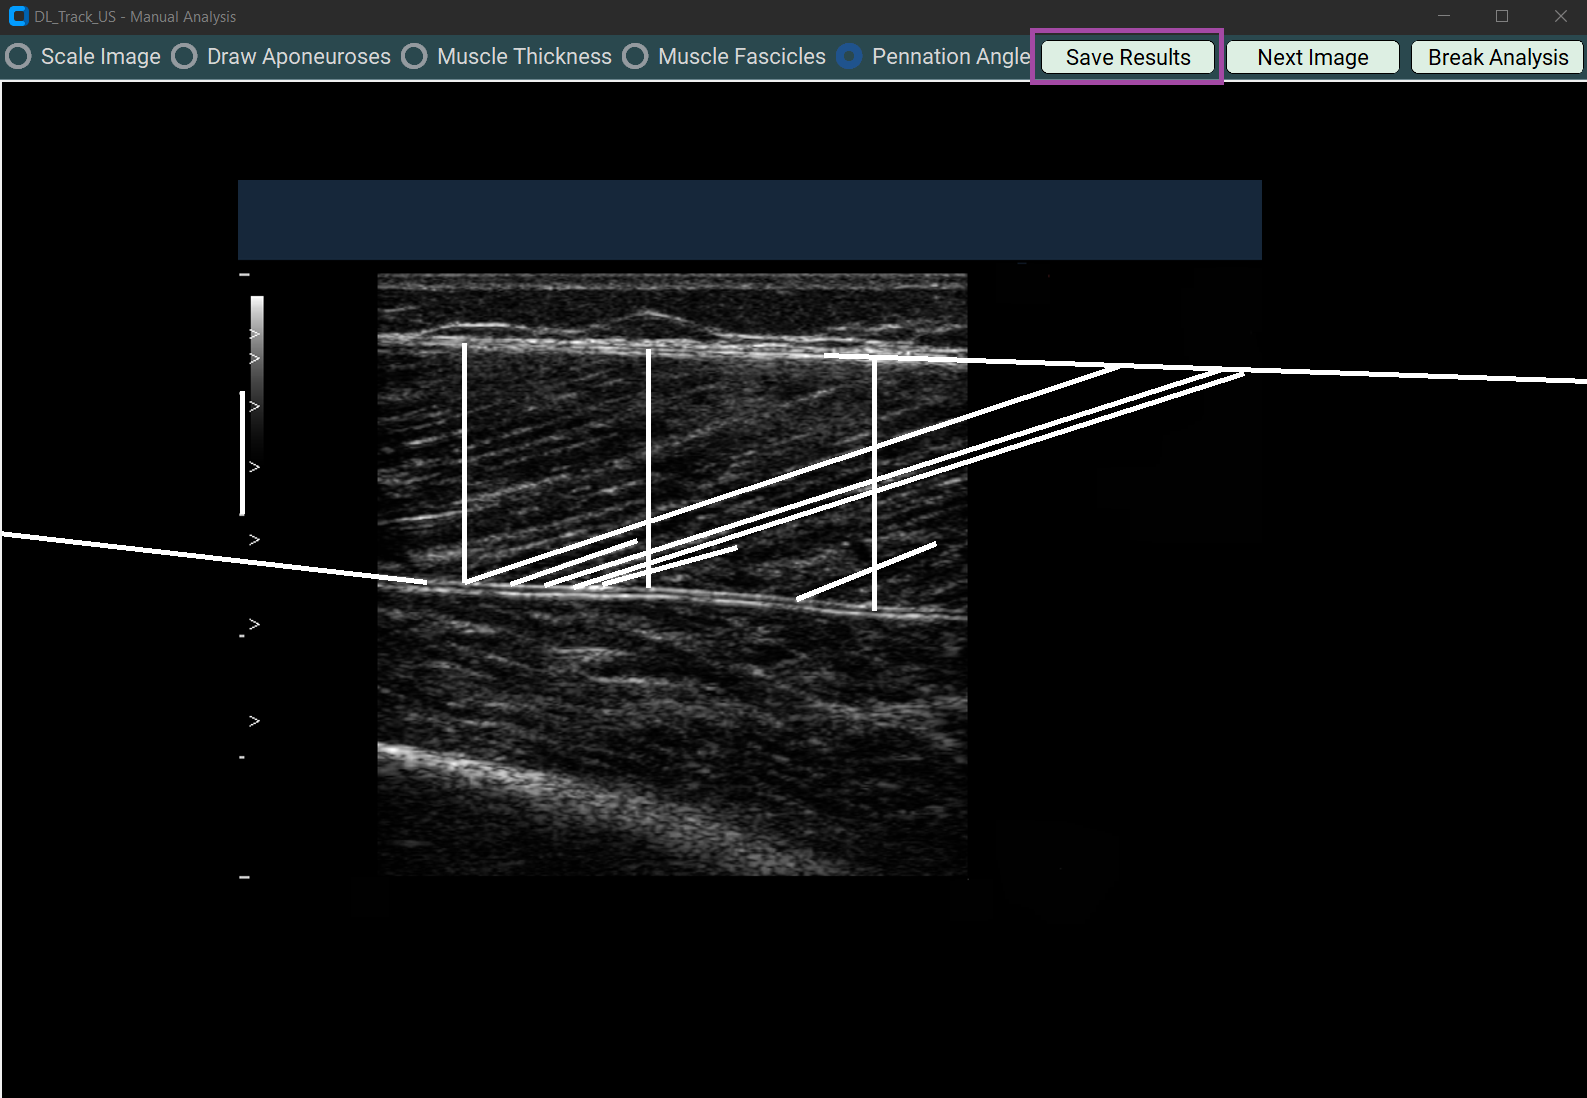
5.1 Saving Results
- Press the Save Results button after finishing each image.
- It saves:
- An Excel file (
Manual_Results.xlsx) - A screenshot of your drawing.
Saved results are stored in DL_Track_US_example/images_manual.
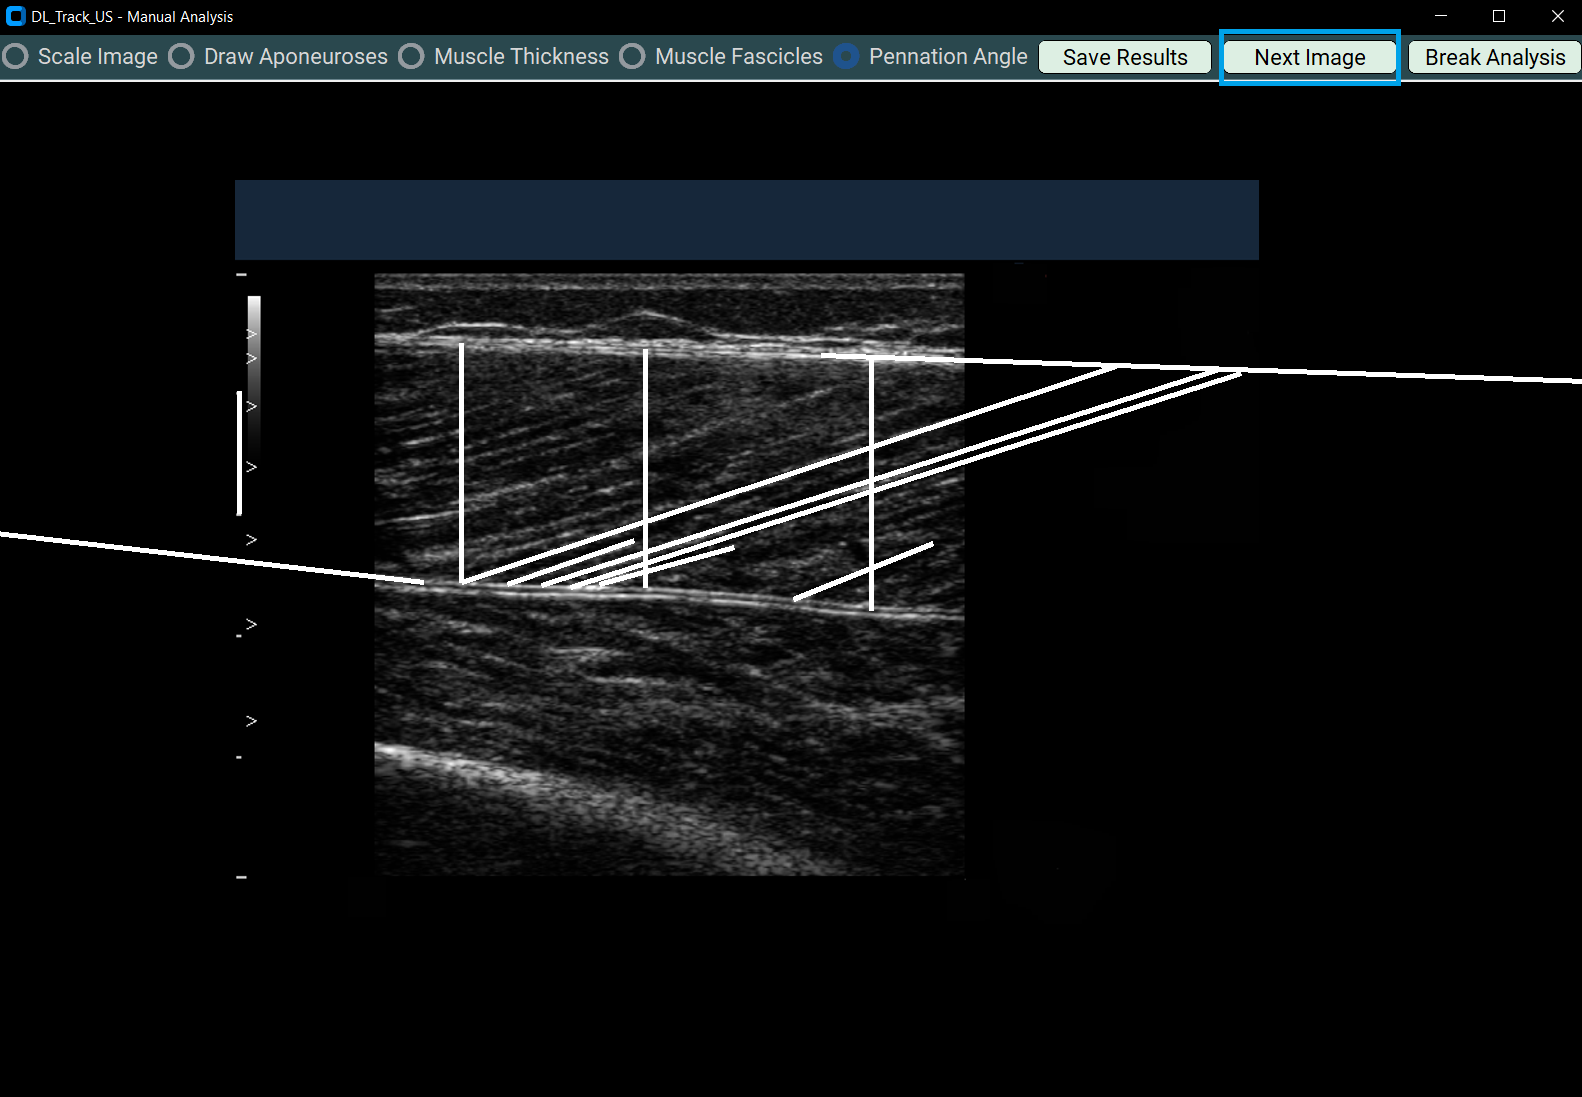
5.2 Going to Next Image
- Click the Next Image button to proceed.
- Always save results first before moving to the next image!
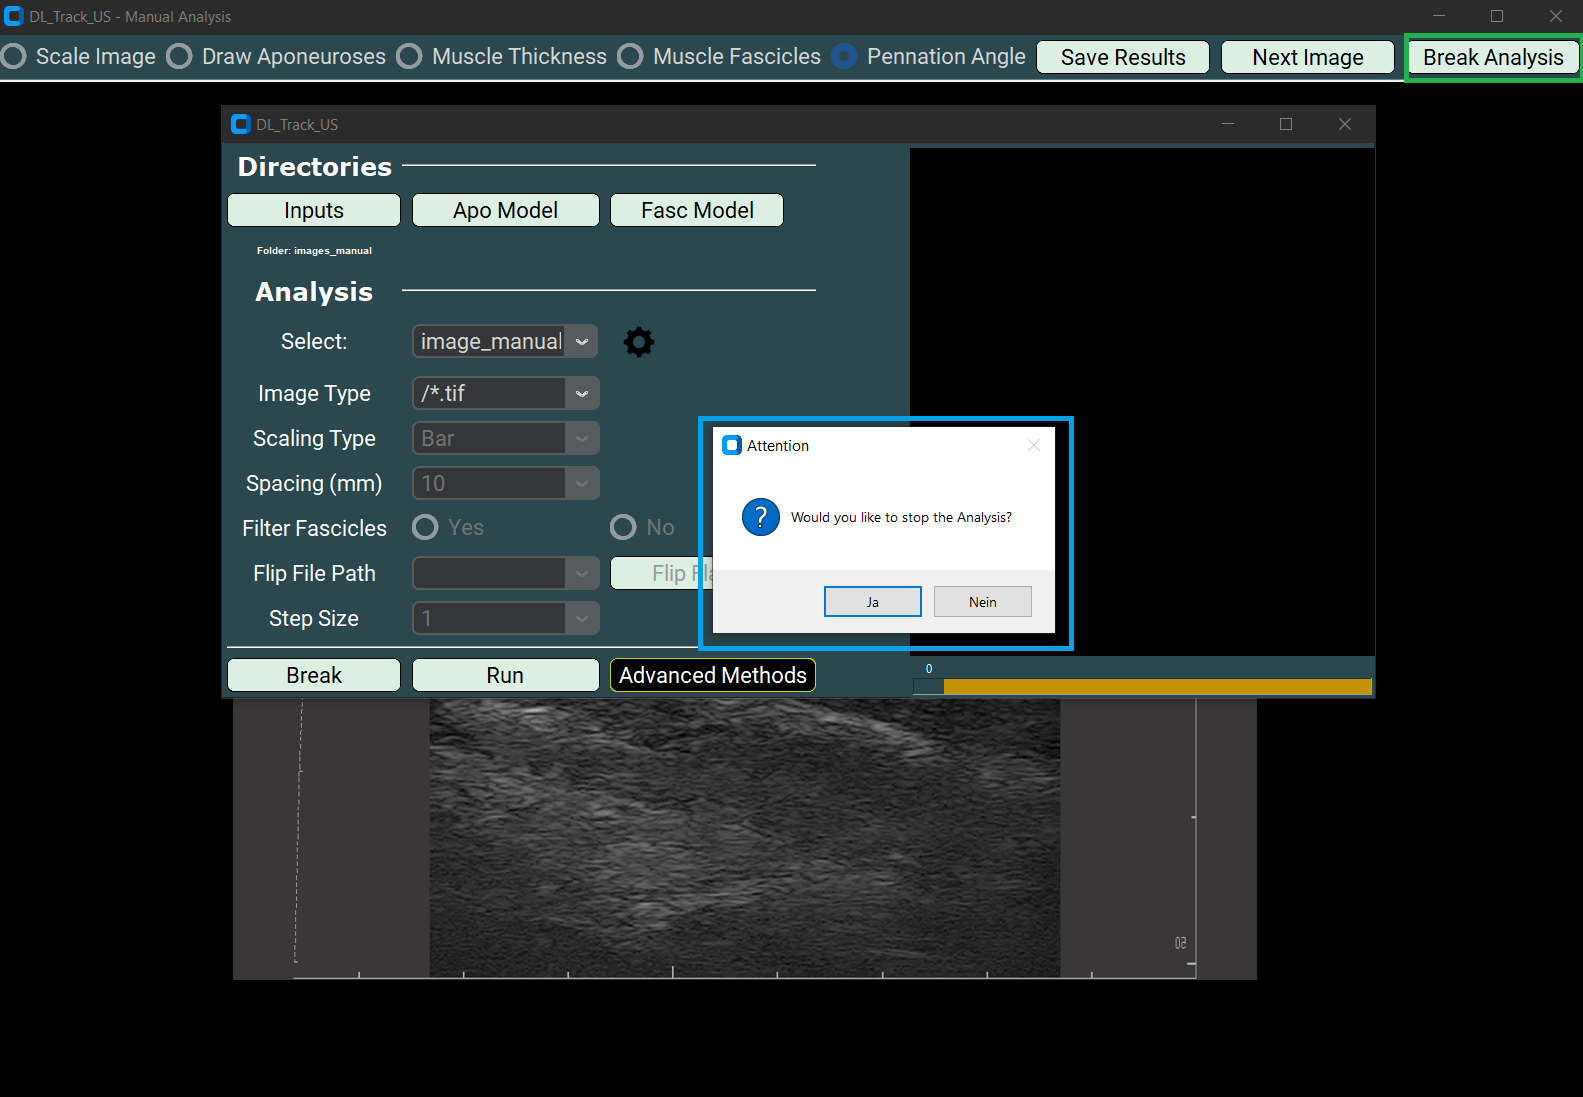
5.3 Breaking Analysis
- Click Break Analysis to terminate analysis.
- A messagebox will confirm your choice.
- After confirming, you return to the main GUI.
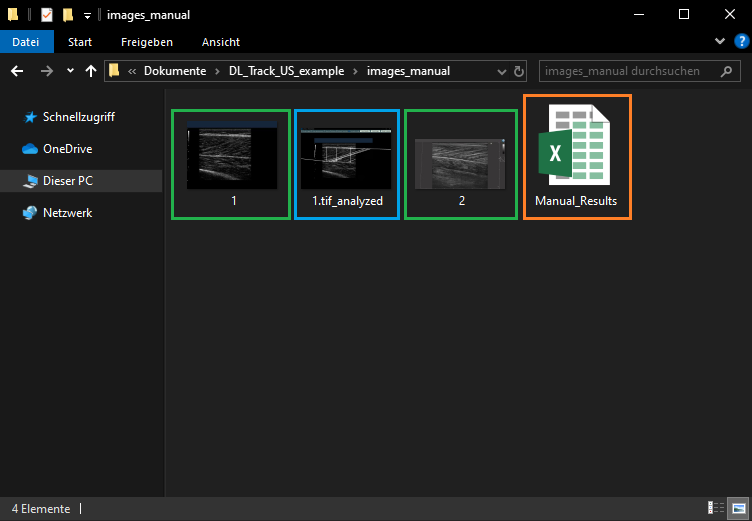
After saving all results, your folder should contain:
- Input images
- Saved screenshots
- The Manual_Results.xlsx file
6. Error Handling
If any error occurs:
- A messagebox will open explaining the issue.
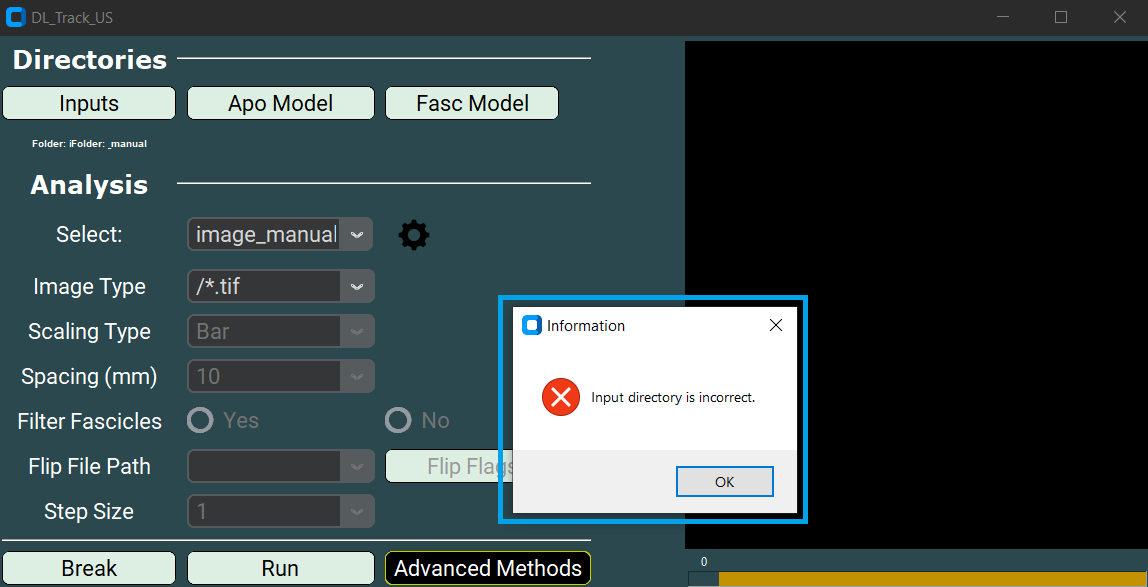
We have tried to make all error messages as concise and informative as possible.
Simply follow the instructions in the error box and restart the analysis after resolving the issue.
💬 Note:
If an unexpected error occurs that is not caught by a message box,
please report it in the DL_Track_US Discussion Forum - Q&A Section.
When reporting an issue:
- Please include a description of the problem,
- Steps to reproduce the issue,
- And (if possible) screenshots of the GUI and error message.
By following these guidelines, we can continuously improve DL_Track_US.