🎥 Manual Video Analysis
The next and last analysis type this tutorial covers is manual video analysis.
In this mode, video frames are evaluated manually by drawing muscle thickness, fascicle length, and pennation angles directly onto the images.
Important:
Manual video analysis is applicable only for single videos.
All videos must be contained in a single folder, e.g., DL_Track_US_example/videos_manual.
If you have not downloaded the example folder yet, please do so:
DL_Track_US - Examples & Models.
📦 Unzip the folder and save it somewhere easily accessible.
The manual video analysis type is identical to manual image analysis.
The only difference:
You specify the absolute video path instead of a file type.
- The video is first converted into individual frames.
- Each frame image is then analyzed separately.
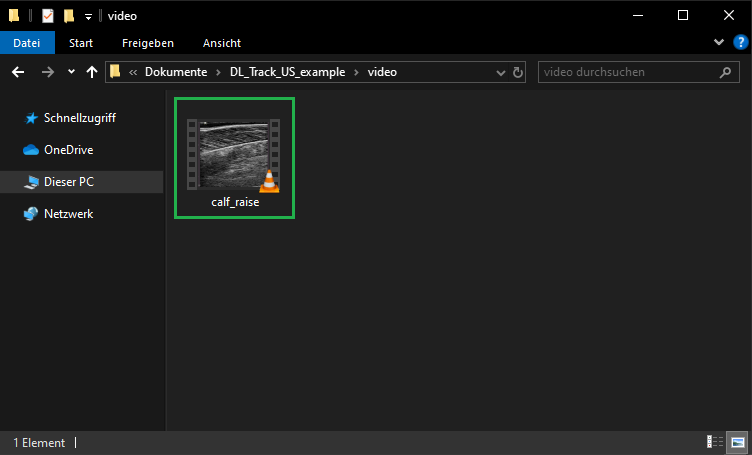
1. Creating a Video Directory
- Place all videos into a single folder.
- The
DL_Track_US_example/video_manualfolder contains one video file.
2. Specifying Input Directory in the GUI
- Select video_manual from the dropdown menu.
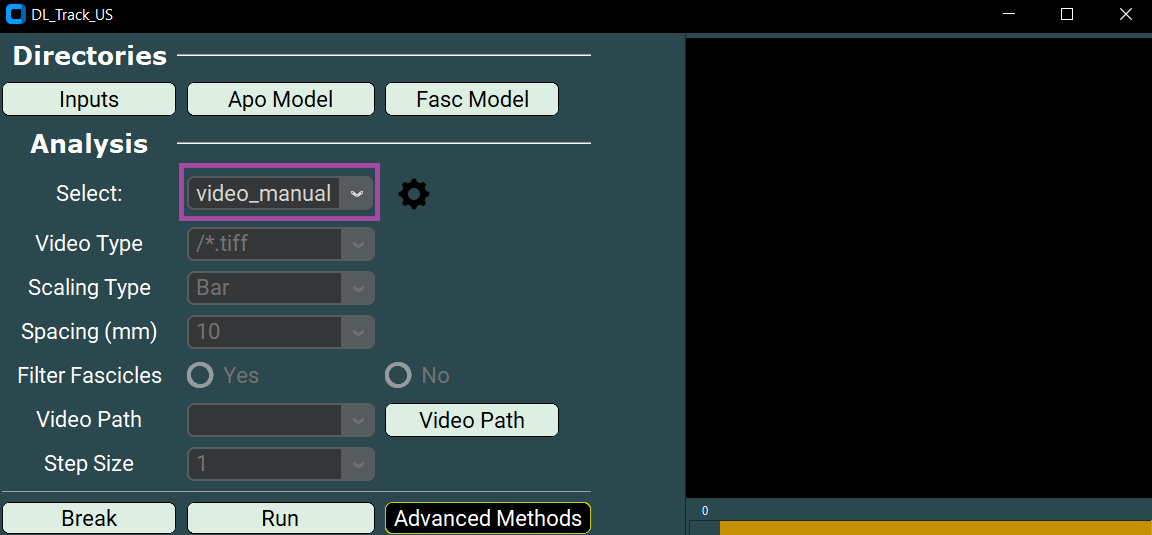
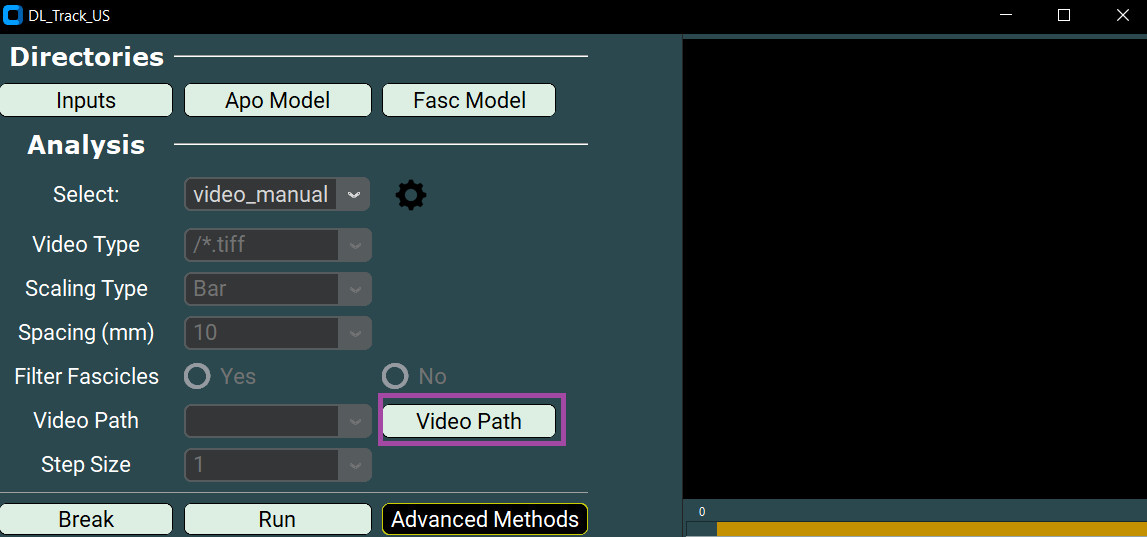
Next, specify the absolute file path of the video file to be analyzed:
- The example video file is placed in the
DL_Track_US_example/video_manualfolder. - Click the Video Path button in the GUI to open a selection window.
- Select the video file.
- Click Open to confirm.
Finally, start the analysis:
- Click the Run button in the main GUI.
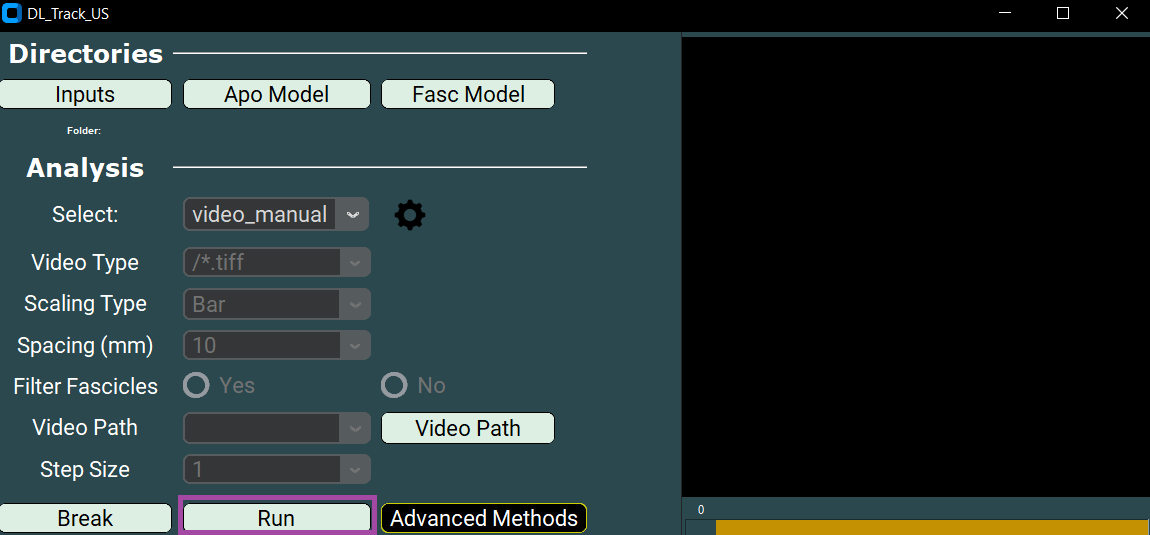
Once you click Run:
- The Manual Analysis window will open.
- From here, all further steps are identical to manual image analysis.
Differences to Manual Image Analysis:
- A new folder is created next to your input video.
- This new folder contains all extracted single frame images.
All operations — scaling, aponeurosis drawing, muscle thickness measurement, fascicle measurement, pennation angle measurement — work exactly as in manual image analysis.
Saving results, moving to the next frame, terminating analysis, and error handling are also identical.
📚 For detailed instructions,
please refer to the Manual Image Analysis page.