🧠 Training Your Own Networks
The DL_Track_US package GUI includes the possibility to train your own neural networks.
Why train your own model?
- To create models tailored to your own dataset.
- To improve segmentation if the example models don't generalize well enough.
- To learn more about deep learning for muscle ultrasound.
🚨 It’s highly recommended to have a working GPU setup; otherwise training can take much longer.
Check out our GitHub repository for setup instructions.
If you're new to neural networks, we recommend this introduction course.
📝 Note:
DL_Track_US UI allows training but not modifying network architectures!
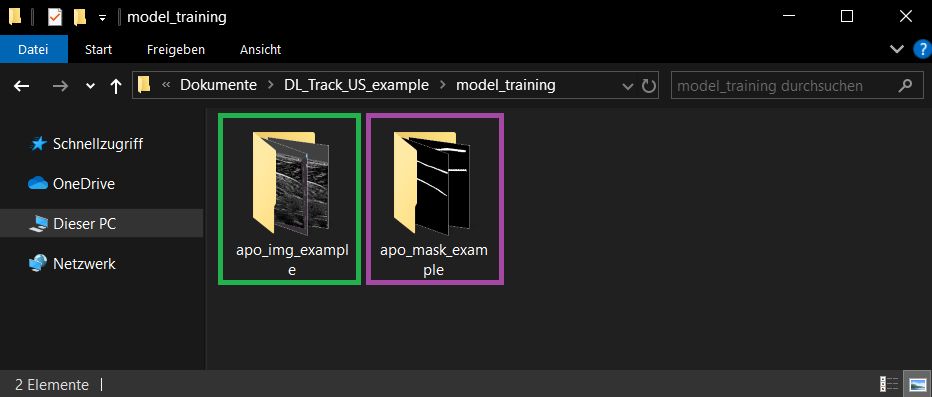
The paired images and labeled masks needed for training are located in:
📁 DL_Track_US_example/model_training
Download DL_Track_US Examples & Models if you haven’t already.
In this tutorial, we will train a model for aponeurosis segmentation.
Training a fascicle segmentation model is identical — only the images and masks would differ.
1. Data Preparation and Image Labeling
Inside the DL_Track_US_example/model_training folder:
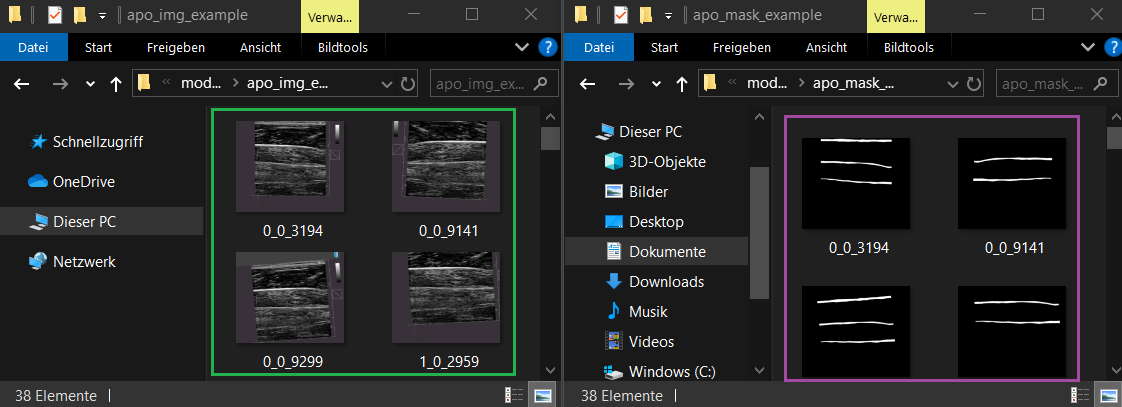
- 📁 apo_img_example → Original images
- 📁 apo_mask_example → Corresponding labeled masks
⚡ IMPORTANT:
Image names and mask names must match exactly!
Example:
2. Specifying Relevant Directories
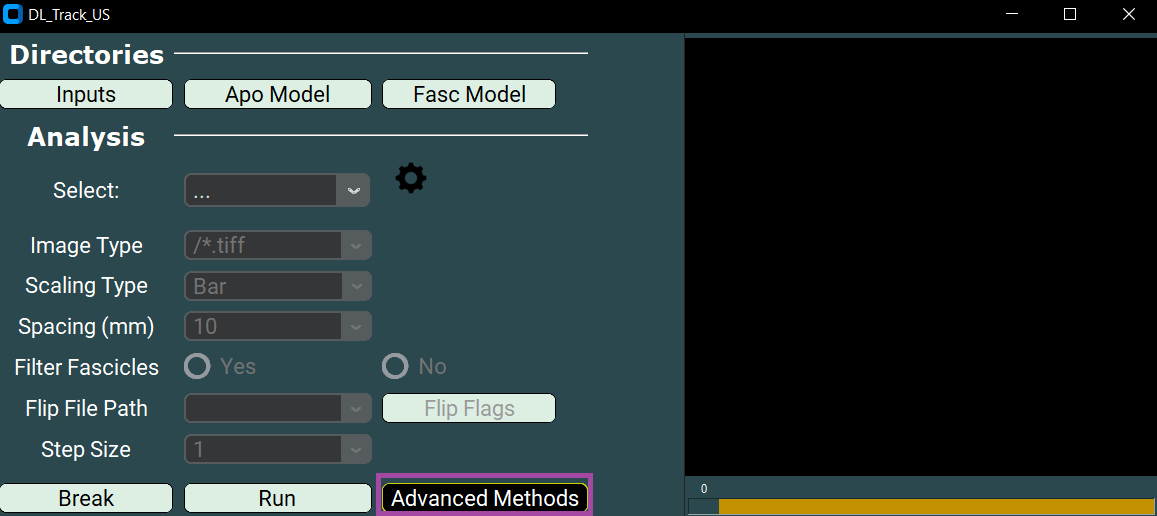
- Open the UI.
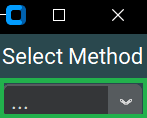
- Click the Advanced Methods button.
- In the dropdown, select Train Model.
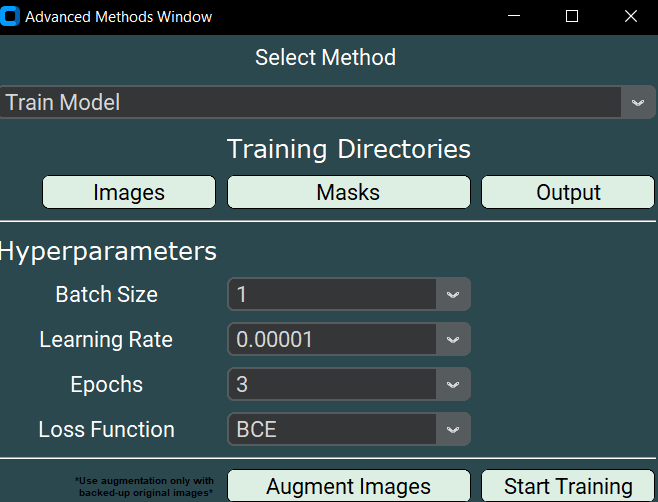
Now specify the directories:
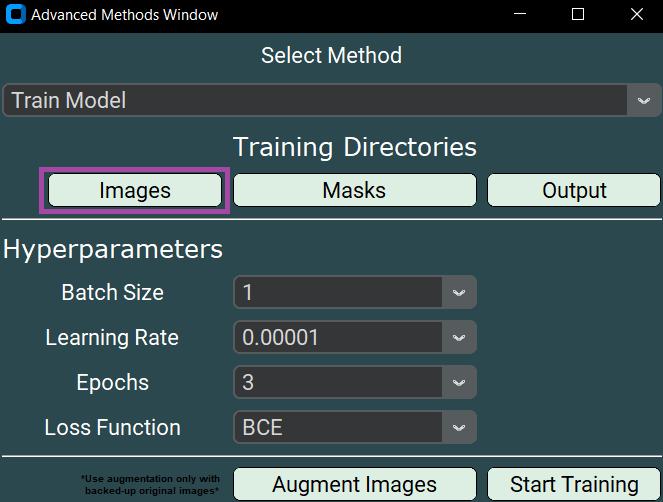
Select Image Directory
- Click Images.
- Select
DL_Track_US_example/model_training/apo_img_example.
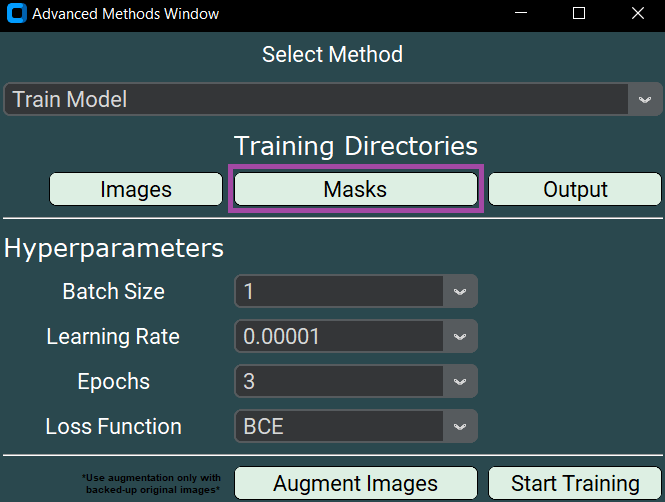
Select Mask Directory
- Click Masks.
- Select
DL_Track_US_example/model_training/apo_mask_example.
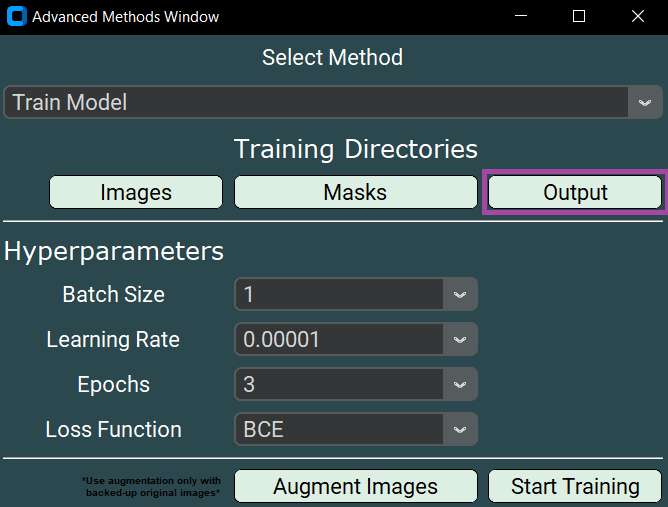
Select Output Directory
- Click Output.
- Choose a folder to save the trained model, loss plots, and CSV results.
3. Image Augmentation (Optional but Recommended)
Image augmentation artificially increases your dataset size by applying random transformations.
🚨 Especially recommended if you have fewer than 1500 images.
- Click Augment Images.

A messagebox will notify you once augmentation is complete.
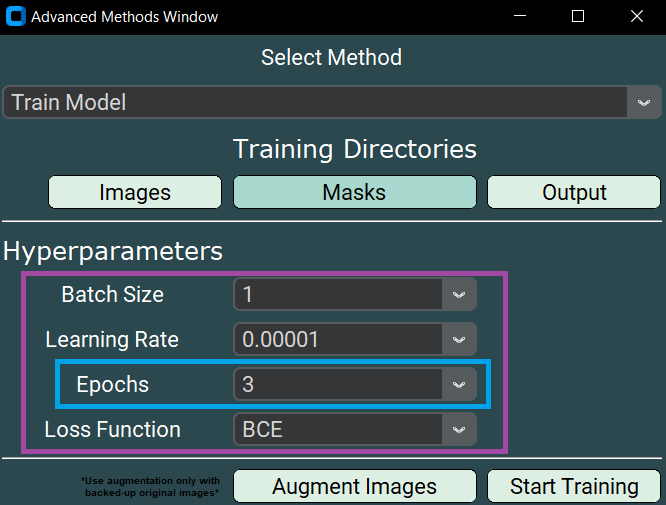
4. Specifying Training Parameters
- Keep the default settings for this tutorial.
- NEVER use just 3 epochs for real training.
(3 epochs are okay only for testing.)
Now click:
- Start Training
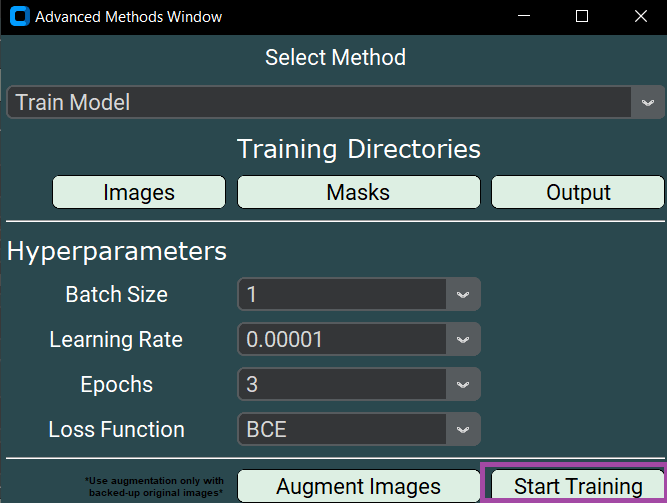
Three messageboxes will guide you during the training process.
Once training is finished, you’ll find:
- Trained model (
Test_Apo.h5) - Training loss plot (
Training_Results.tif) - Loss values per epoch (
Test_apo.csv)
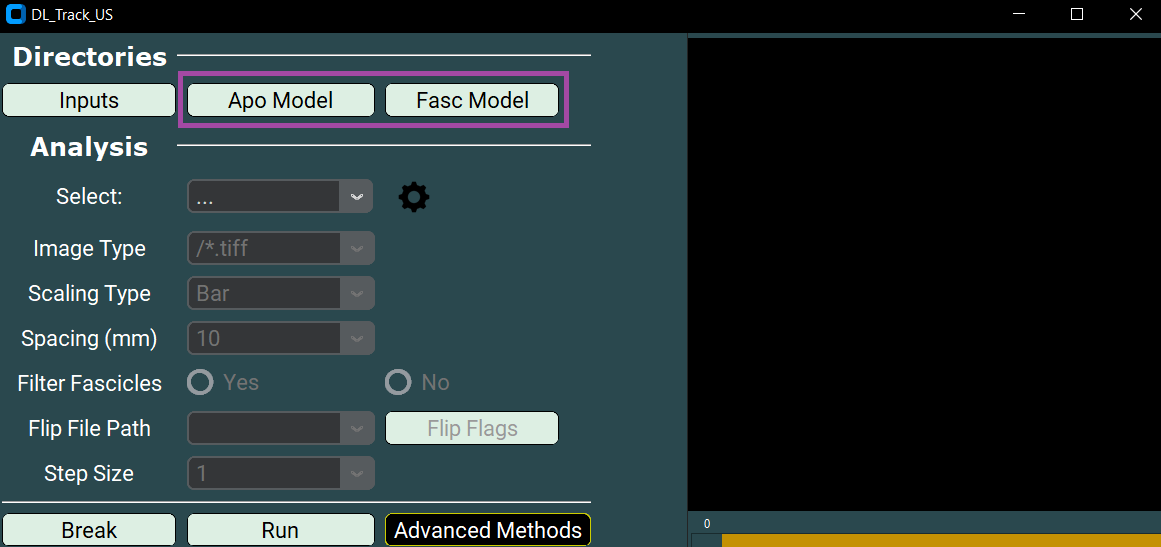
5. Using Your Own Networks
You can use your trained models like this:
- Click Apo Model or Fasc Model in the GUI to load your trained model.
⚡ IMPORTANT:
Never use the same images for training and inference.
Always validate on unseen data to check your model's performance.
If unsure, feel free to ask in our DL_Track_US Discussion Forum!
6. Error Handling
Errors during training trigger a messagebox:
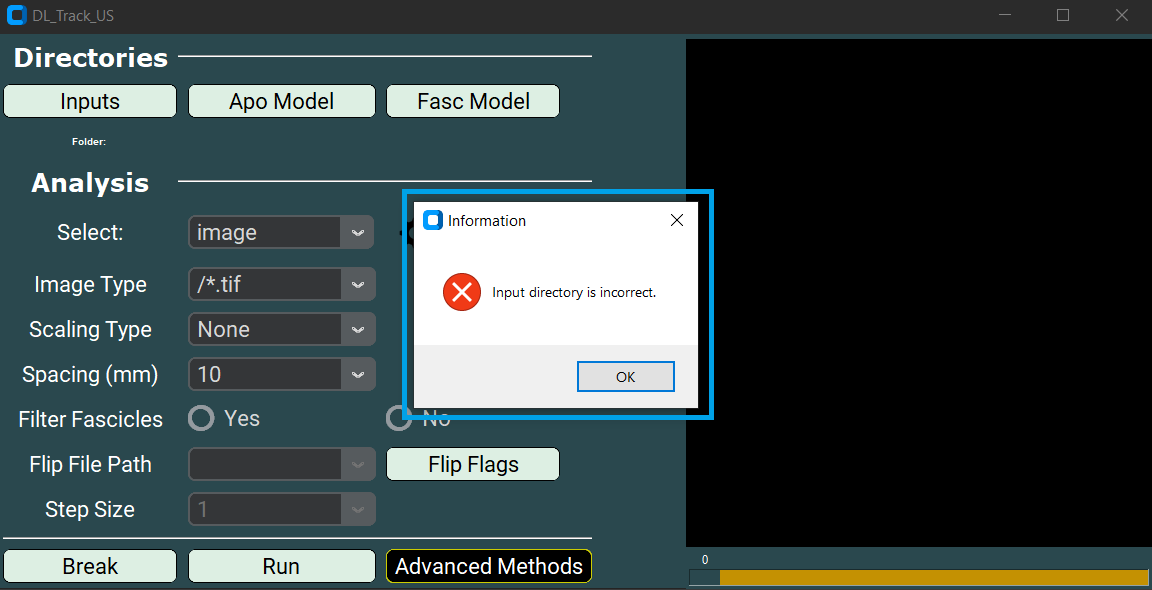
Follow the instructions shown.
Uncaught errors should be reported in the
DL_Track_US Discussion Forum.
See here for guidance on how to best report errors.
7. Labeling Your Own Images
To train your networks, you must label images correctly.
🛠 We provide a semi-automated script!
You need:
- 📁 Original images folder
- 📁
output_imagesfolder - 📁
fascicle_masksfolder - 📁
aponeurosis_masksfolder
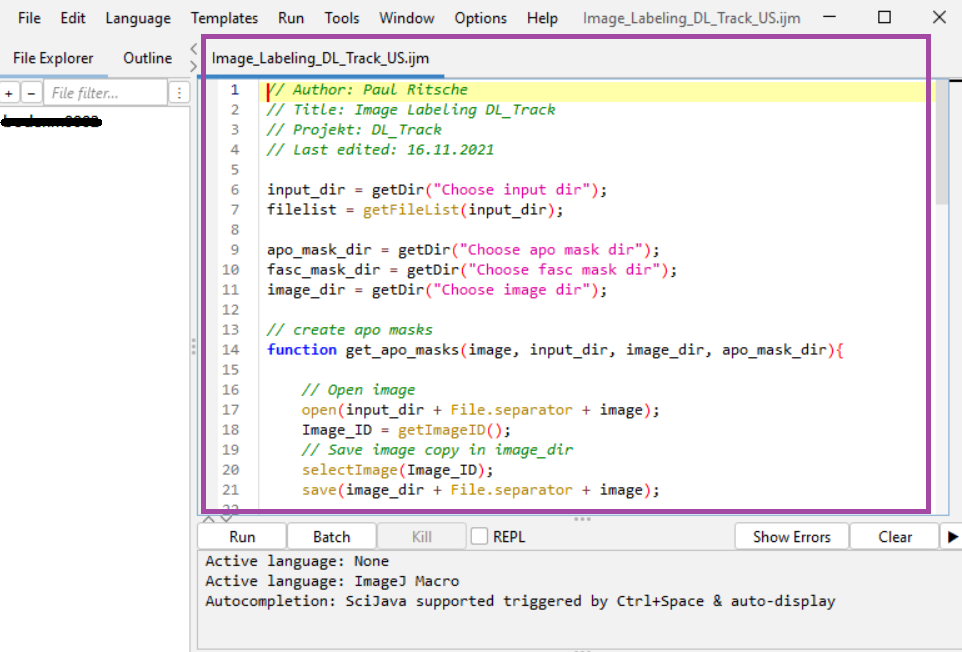
You’ll use ImageJ/Fiji and our script:
🗂 DL_Track_US/DL_Track_US/gui_helpers/gui_files/Image_Labeling_DL_Track_US.ijm
Drag the .ijm file into a running Fiji/ImageJ window to start.

Labeling Steps
-
Set Directories:
a. Input images
b. Aponeurosis masks
c. Fascicle masks
d. Output images -
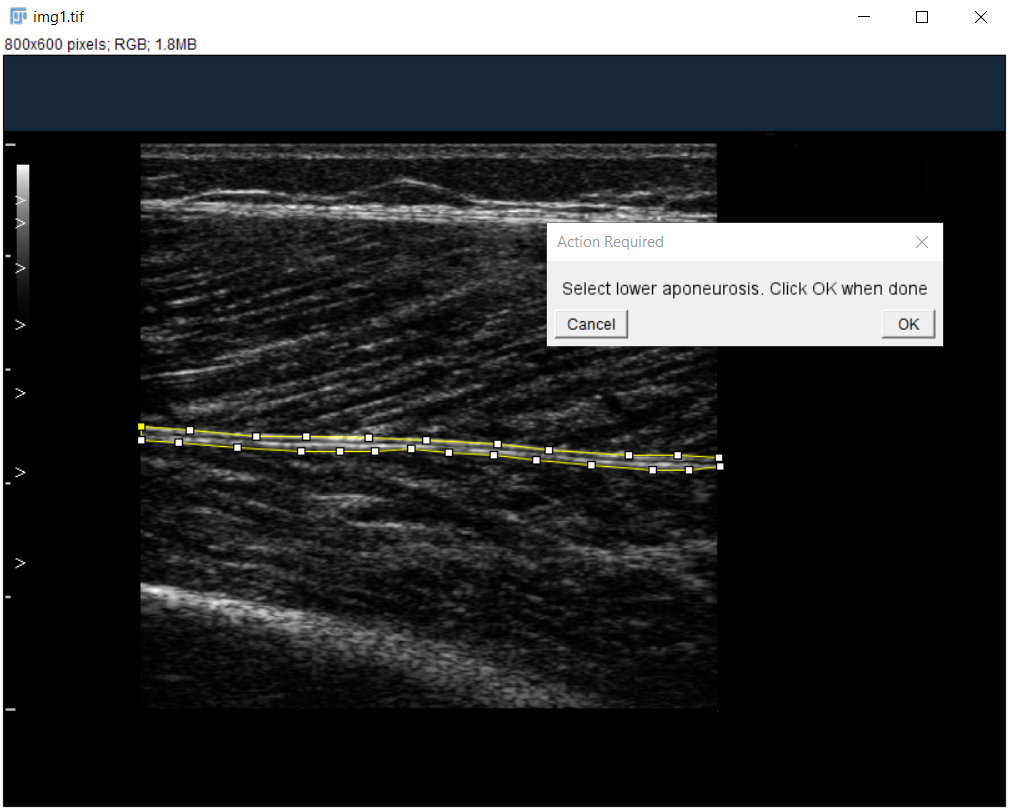
Label Aponeuroses:
Use polygon tool to select superficial and then deep aponeurosis.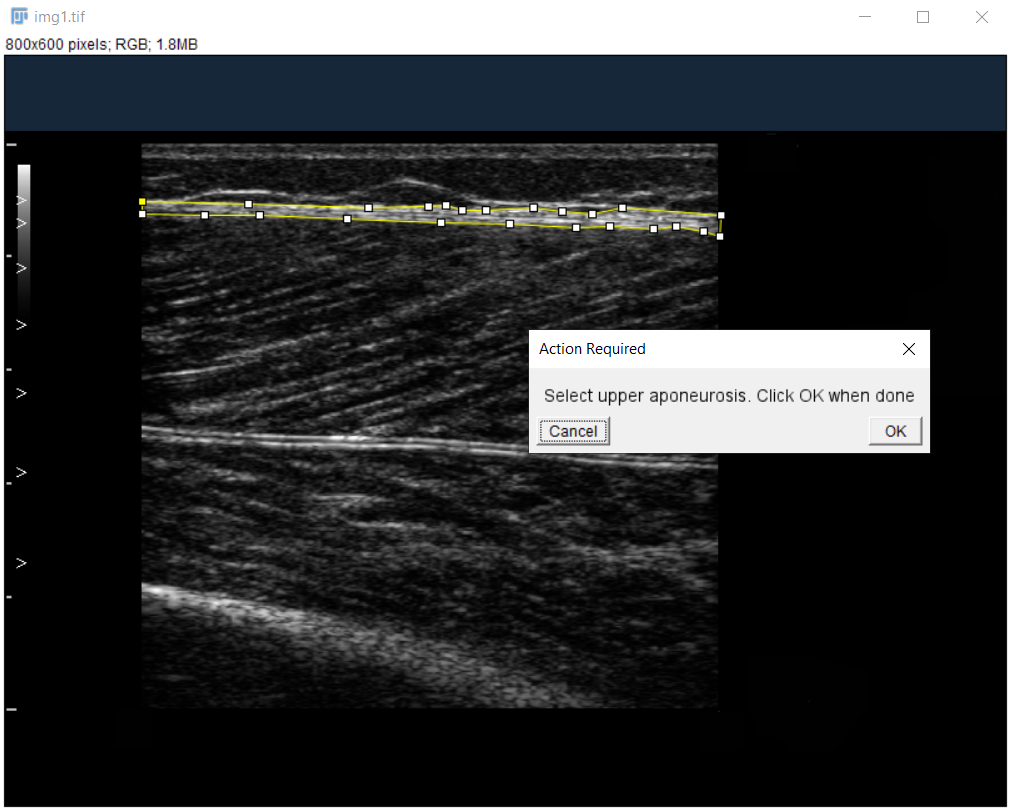
-
Label Fascicles:
Use segmented line tool for clearly visible fascicle parts only.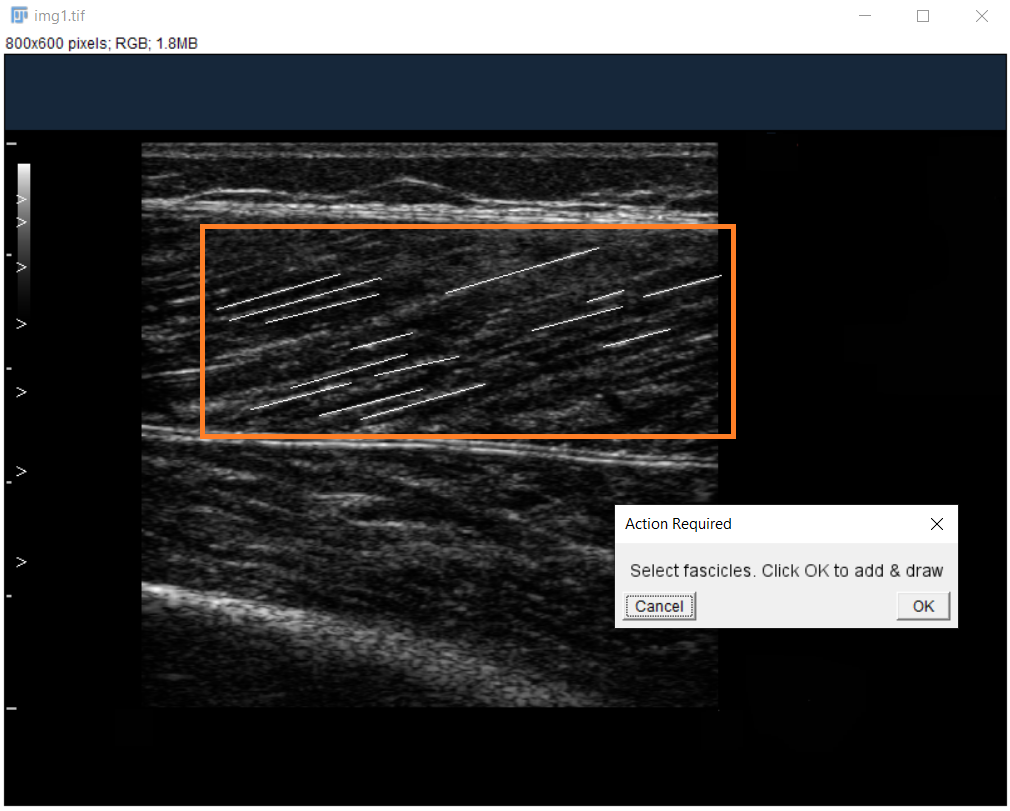
-
Save and Move to Next Image.
✅ You are now ready to create your own high-quality training datasets!